Articles Tagged with: Photoshop

BarCampCHS 4

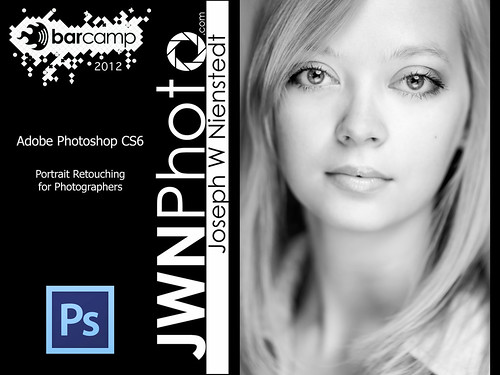
PS-For-Photographers Splash Screen

This past weekend marked the 4th BarCamp in Charleston, SC. What is BarCamp? It can be described simply as an attendee-driven conference. The attendees pitch, vote on, and present the content of the day. It’s a lot of fun and this was my 3rd year doing it.

Once again, I presented a class that was photography related. This time I tackled my portrait workflow in Photoshop. I had two examples prepared to demonstrate the techniques I currently use when editing photos. The first one was a headshot of one of the pediatricians at Sweetgrass Pediatrics. I showed a basic RAW conversion in Camera RAW, and then opened the photo in Photoshop to demonstrate techniques like blemish removal, teeth whitening, how to optimize the eyes, skin softening, and dodging & burning. I finished with my selective sharpening technique. This is the final retouched image:

Dr. King

Due to the nature of BarCamp, my class got scheduled in the very first time slot of the day, which is cool by me (who doesn’t want to get their session over right away so they can enjoy the rest of the day??). Unfortunately, the day started quite late due to the fact that almost twice as many people showed up this year compared to last year. I only made it halfway through my session before we had to move outside to get the group photo made. I promised the class that I would post the second half of my session as a screencast here on my website, so you’re all in for something a little different.

Before I get to that, I wanted to talk about the group photo. As I was packing up my gear in the classroom, my daughter came rushing in and said “Come on, Dad, everyone’s waiting to get the photo taken!” I grabbed my camera and ran to the balcony to see everyone all grouped together on the ground level. I looked down at the crowd and thought “Oh, crap”. Mid-day, cloudless skies. Sharp shadows from the building, and worse, the trees. Bright yellow warm light dappling big swatches of faces, and cool blue shadowy light on the rest. All inconsistent, and no time to get hundreds of attendees to relocate! Besides, where could I possibly relocate them to anyway? Well, I switched my camera’s bracketing feature on and organized the crowd to fit in the frame and fired away.
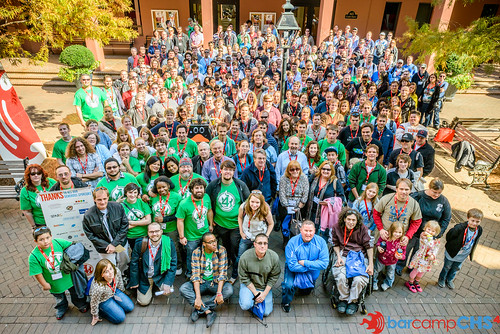
BarCampCHS4 Group Photo

This photo is the end result of a lot of finessing in Lightroom, Photoshop, and Color Effex Pro. I’ll save you from all of the gory details, but the dynamic range of my camera truly helped me save this photograph. I was able to use a highly underexposed photo (that still had blown highlights anyway) and create a useable image. HDR didn’t fly because there were too many moving parts. Doesn’t matter – people seem to like the shot regardless of the pixel gymnastics it took to get everyone somewhat evenly exposed.

OK, so here’s the screencast I warned told you about – Hope you enjoy it:

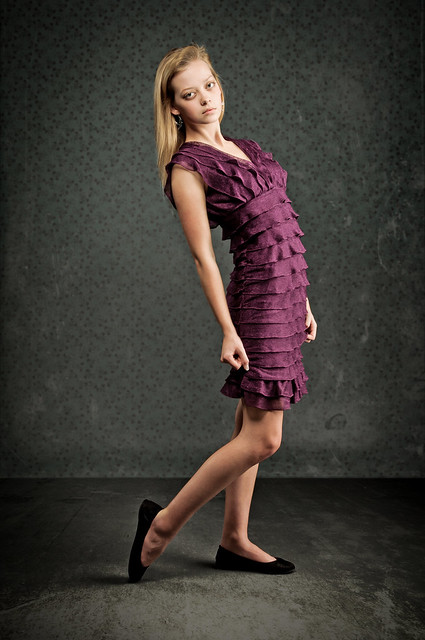
And here’s the final image that I retouched in this video:
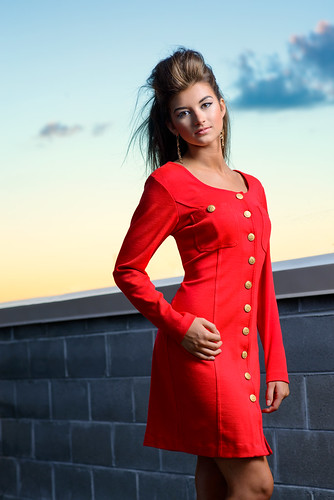
KarsonTerrell


CS6 For Photographers Seminar in Charlotte

Kelby Training Live-2

I drove up to Charlotte, NC on Monday night and found myself in a Howard Johnson’s just outside of town. Sometime after 3:00 AM after watching 3 consecutive episodes of Breaking Bad on my iPad, I finally got to bed. I haven’t suffered from insomnia since I was a teenager, and boy was I unable to sleep. I knew I shouldn’t have taken a B12 supplement after dinner, but I didn’t want to get noddy during my drive after a long day of work. I can’t imagine having to suffer like that on a regular basis – its an absolute nightmare to me. Even more frightening was my alarm that went off seemingly instantly after I finally closed my eyes.

Kelby Training Live-1.jpg

If you have ever seen the opening scene to Office Space, that was how my 20 minute drive that lasted almost an hour was as I headed to Charlotte’s convention center from my hotel. Regardless, I made it to the seminar in good time and got a great seat right up front behind the projector. The day long class, which was created by Scott Kelby, was being taught by none other than RC Conception.

RC did a fantastic job, teaching not only the material that Scott had put together, but also elaborating on it with his own insights and tricks. He’s an extremely approachable guy and it’s no wonder he is beloved by the photography community. He’s got a great sense of humor that never makes him look smarmy – he comes off as a guy you’d like to hang out with, which makes a day-long class on a piece of software much more manageable.

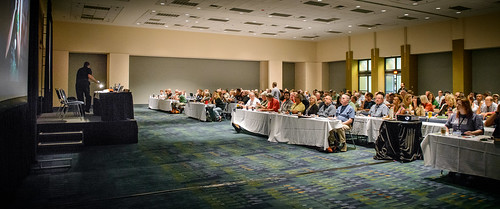
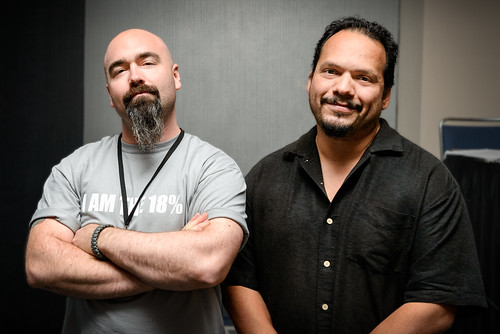
The photo at the top of the post is one I snapped of the classroom seconds before the start – RC is in the back of the class standing and waiting to be formally introduced by the Kelby Training tour manager. The shot directly above is of yours truly with RC. I handed my camera to one of the attendees (wasn’t hard finding a willing photographer there).

Charlotte-5

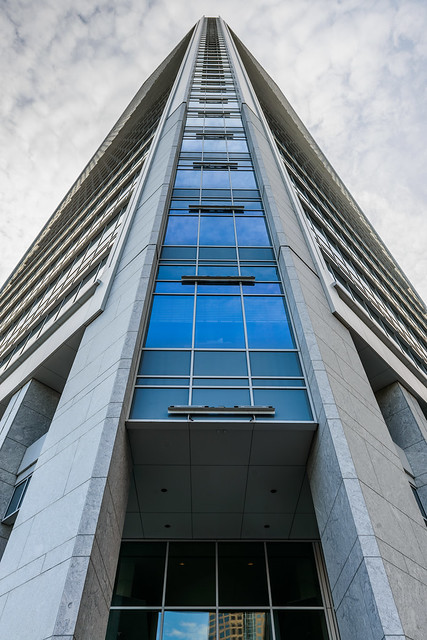
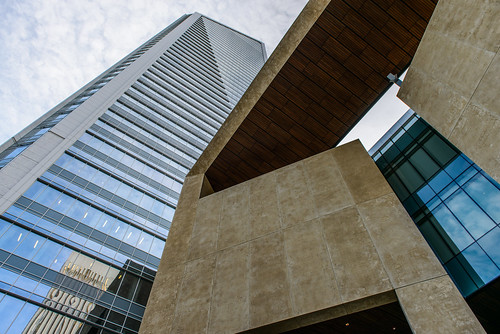
After the seminar, I walked around the downtown area looking for a bite to eat and enjoying the architecture.

Charlotte-7

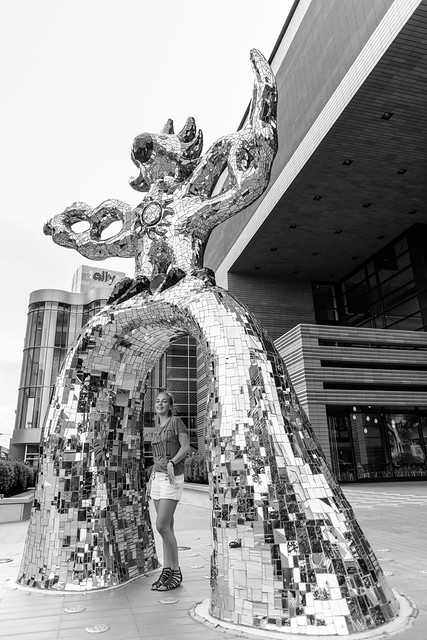
There was this one mirrored sculture on a corner that this exchange student was getting her photo taken of in front of by her host family. A couple of us photogs were patiently waiting for them to be done, when I realized they were never going to be done! I walked away and came back 15 minutes later and they were still there! Well, now she became my subject!

Charlotte-8

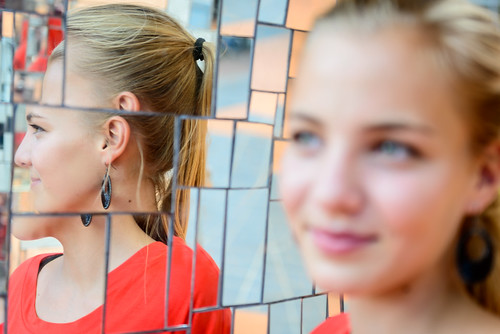
I asked her permission first, and then explained to her hosts that the shot I envision involving this interesting art piece is of the reflections themselves. I snapped a couple of shots like this:

Charlotte-10

It was a nice little release of creativity after absorbing so much photographic knowledge all day! If you’re able to make it to one of the Kelby Training Live events, please do so. They’re not expensive at all and are a great experience.


Haley (Part II)

Haley

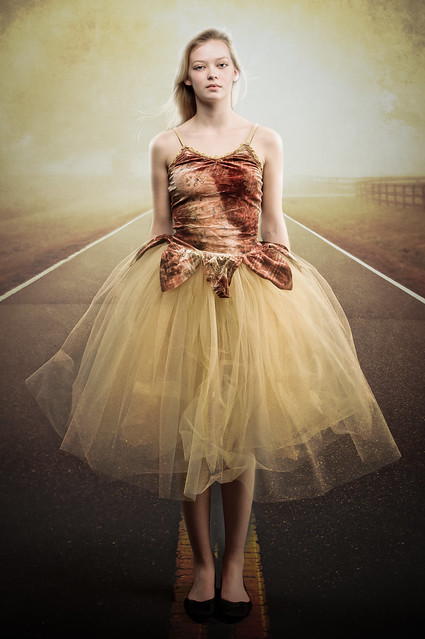
Welcome to my second post of photos of Haley from her photo shoot. This time, it’s all about composites. This first one uses this picture of a road on a foggy morning in Landrum, SC.

Haley

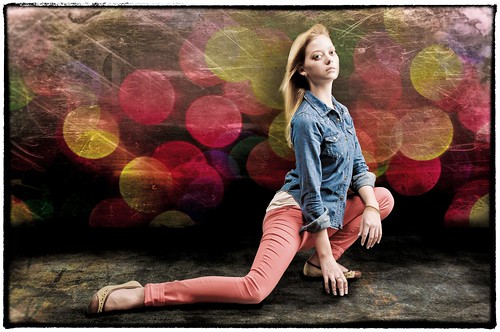
The rest of these are a combination of multiple images found on Flickr as free backgrounds and textures, such as these from Flickr user Moosebite. There are a plethora of different types of images that are offered completely free for this purpose.

Haley

As for the art of making a composite, I used Photoshop and experimented with different blending modes, opacities, and manipulation of the images through Free Transform. I also used a combination of Snapseed and Color Efex Pro from Nik Software to finish these off.

Haley

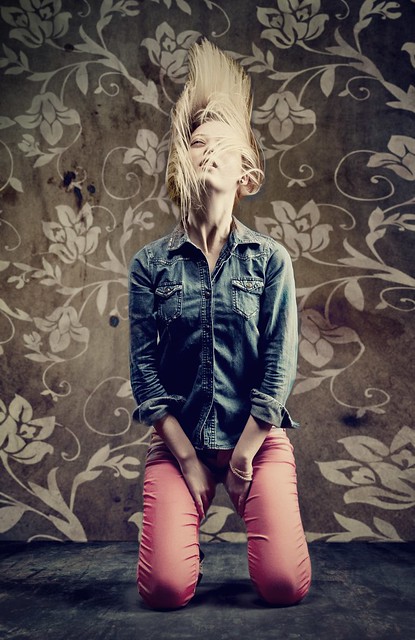
The challenge for me is not to overdo it, as I did in this photo. It looks like the 80’s threw up on the 90’s and had a bastard child of a background, and poor Haley is stuck looking pretty in the midst of it all. But, it’s about experimenting for me, and I think the photos above work for their intended purposes.

In other news, I’ve got an exciting week ahead of me as I will be shooting some stuff at Charleston Fashion Week. It will be my first time shooting a runway show, so I’m pretty stoked! TTYL.


What’s in the CameraBag 2.0?

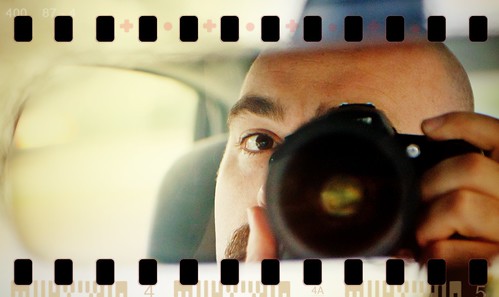
Self-Portrait CameraBag Edit

Guess what’s on my camera now? The photo of my reflection in my car’s rearview mirror up top was the first shot I took with my new lens in the parking lot of FedEx, where I picked it up. In case you’re wondering, I’m now slinging a Nikkor 24-70mm f/2.8 lens, and it’s a beast. It’s heavier and longer than my 300mm DX lens (when it’s not extended)! I’m so happy with it, especially since I got such a great deal on it. I bought it from BorrowLenses.com used, and the thing doesn’t have a single scratch on it. The glass is as clean and flawless as the day it was shipped from the factory. It’s simply amazing. But, I’ve yet to use it in a professional setting. I’ve only shot my dogs while trying out various focal lengths and apertures. It’s meant for a full frame DSLR, so on one end it’s not as wide, but on the other it’s longer. No worries though, because I didn’t usually shoot portraits at less than 24mm with my previous lens, so it can only be for the better with the extra length at 70mm. But enough about that for now, lets talk about Nevercenter’s CameraBag 2.0.

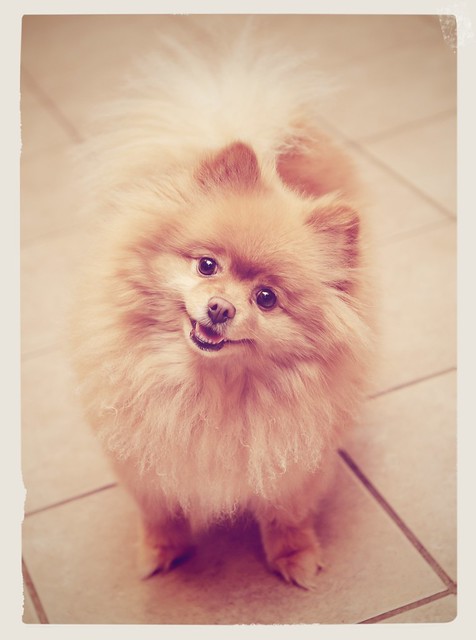
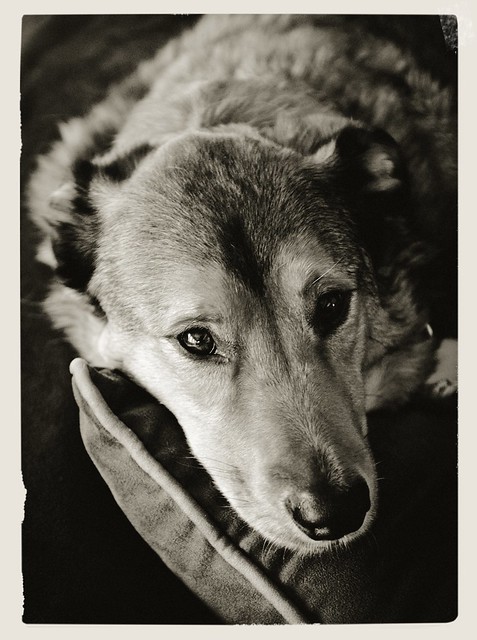
Lola CameraBag Edit

This cross-platform desktop editing software is fast and powerful. I’ve been jumping around it’s various features today on my Mac and the program is very polished. It has a very pro look about it with it’s dark gray and black interface, and the layout is extremely intuitive if you’ve used any other photo editing application before.

I love how you can stack different effects and go back and change each setting for each individual effect. It also has an extremely handy feature called “Quicklook”, which lets you see all of the various effects on one screen so you can easily scroll through the different looks visually and choose the one that looks best with your photo.

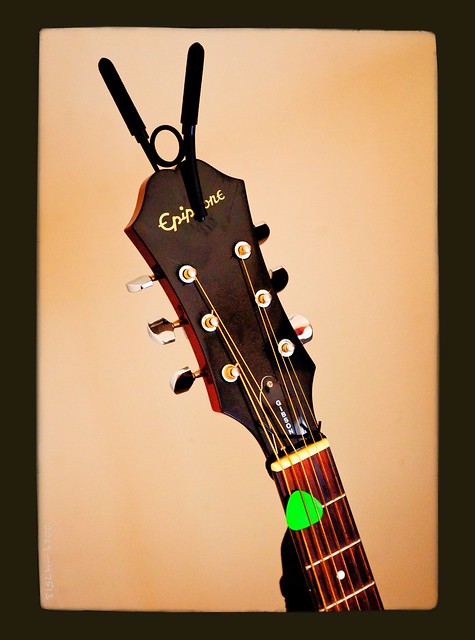
Epiphone CameraBag Edit

Another fantastic idea is that you can create your own “recipe” for a photo edit, and not only save it as a preset in the “Favorites” section, but you can drag and drop a photo right on the screen and it will take on the active edits you have in the window. This would be great for editing a group of photos that you want to have the same look. Just drag each photo one by one and export each one as you go. Pretty darn slick.

Mac Monkey CameraBag Edit

The programmers are also big fans of curves, which is a good thing. One of my favorite editing elements is “R.G.B. Curves”. As you can see from the screenshot below, it gives you 3 separate curves for red, green, & blue. This is a such a powerful tool by itself because you can easily control color saturation independently. In fact, all of the tools are pretty powerful as most can be tweaked pretty heavily. The presets serve as a starting point, but you can get lost for hours nudging sliders and pulling curves.

So what are my gripes about CameraBag 2.0? Well, the only true gripe I have is that it’s not a plugin for Adobe’s Lightroom, Photoshop, or Apple’s Aperture. It would be nice for it to behave similarly to Nik’s Color FX Pro and allow me to return back to my cataloging software after I’m done with an edit. As it stands now, I have to do my RAW conversion and export the photos before I can edit them with CameraBag 2.0. It’s also the same problem I have with Snapseed. It’s hard to streamline your workflow as a standalone application, but by no means is that a deal breaker.

Jackson Sepia CameraBag Edit

The most amazing thing about this software is it’s price. You can get it right now in the Apple App Store for only $18.99. Not sure if it’s for you? Download the free trial from their website. Even at $24, this is a steal. Sure you can do some of these edits in iPhoto or Picassa on the cheap, but you can’t do them nearly as extensively. This doesn’t replace apps like Snapseed or Color FX Pro either. It’s similar, yet different enough to stand on it’s own. It’s also very quick and stable. I’m happy to have it in my virtual editing toolbox.


Privacy Settings
We use cookies to enhance your experience while using our website. If you are using our Services via a browser you can restrict, block or remove cookies through your web browser settings. We also use content and scripts from third parties that may use tracking technologies. You can selectively provide your consent below to allow such third party embeds. For complete information about the cookies we use, data we collect and how we process them, please check our Privacy Policy
Youtube
Consent to display content from - Youtube
Vimeo
Consent to display content from - Vimeo
Google Maps
Consent to display content from - Google