Articles Tagged with: lighting

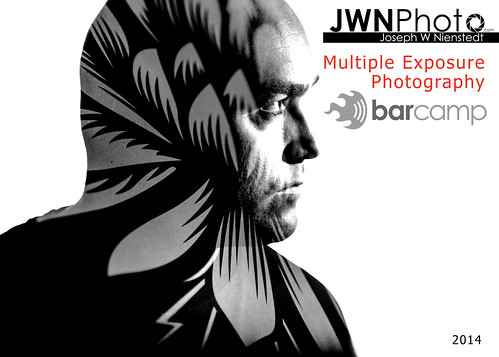
Multiple Exposure at BarCampCHS 6
Barcamp-2014

I’ve led a photographically themed session at the annual BarCamp “unconference” in Charleston since 2010, with sessions on post-processing, lighting, retouching, and iPhonography. This year I tried to tap into the technical aspects of creative photography that have existed since the film days – Multiple exposures. We explored two different techniques, one involving a long exposure with multiple speedlights, and the other using the in-camera multiple exposure feature.

The first demonstration involved off-camera lighting. I used two speedlights and radio triggers to get this effect. I use Cactus v5 radio triggers, which allow me to assign a separate channel to each flash as well as fire them both at the same time. I set the flash on camera left to channel 3 and the one on camera right to channel 2. I set the camera to bulb mode, shut off all of the lights, and shot at ISO 100 and f/9 from a tripod. Rachel is the model, and her brother controlled the radio channels. As I held the shutter open, I had her do each pose and had her brother switch to the appropriate channel and fire the flash. This was the result:

Rachel - BarCampCHS

That’s not a Photoshopped image. It’s all one exposure as far as the shutter actuations are concerned. The multiple exposures come from the separate speedlight actuations. Pretty cool, huh?

The next technique is a function of most DSLRs – a feature called “Multiple Exposure”. I learned something new about this feature on my Nikon – It’s not available when you’re shooting tethered! Oh well, after a long minute of trying to figure out why I couldn’t get it to work, I unplugged my camera from the presentation computer and got started. The way I set my camera up this time was to set the Multiple Exposure setting to 2 images in a series and then disable the auto-gain. For the effect of constraining the 2nd exposure within the 1st exposure’s silhouette, I wanted the background to be blown out (which is why you want to disable the auto-gain). This technique doesn’t require any special lighting, but since we were in a classroom, I used my speedlights to blow out a white wall behind my subjects.

This is John, who certainly had the best beard in the whole conference (probably in all of the Charleston peninsula for that matter). Another attendee had this vibrant purple paisley laptop bag with her that I used for the second exposure. Together they made quite the juxtaposition:
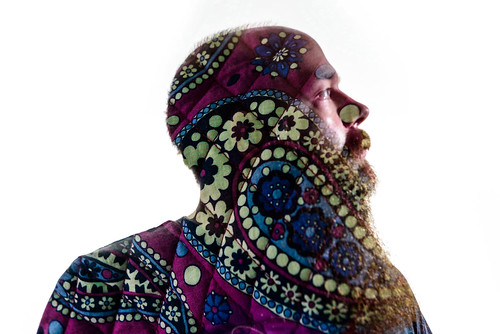
John - BarCampCHS

We had time for one more example, so using the same technique, I had this idea that came from something I saw that day at the College of Charleston campus. All over the walkways there were messages about speaking out about rape. There were hashtag messages such as #nomeansno and #itsnotyourfault written in chalk everywhere.

I asked my daughter Mackenzie to pose with a very sad and angry expression, and then I got a few people to stick their hands out for the second exposure. The idea of the shot was to see where you can take the technique creatively. In trying to make a visual interpretation of these messages we all saw that day, this was the result. I didn’t let on that that was what I was going for while we were setting this up because we were having fun during the session, so I hope that anyone who was there didn’t misinterpret my light-hearted presentation as making light of the seriousness of sexual assault in all of its forms.
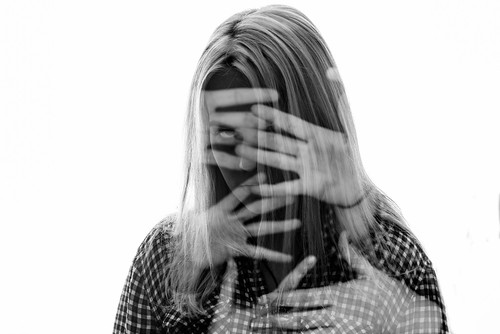
Mackenzie - BarCampCHS

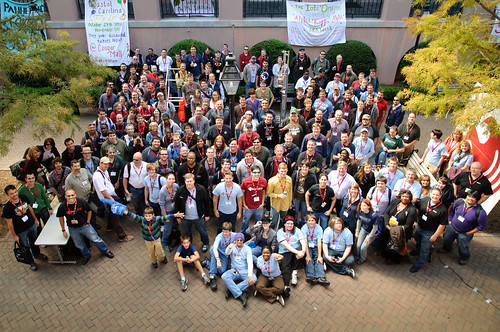
Finally, I once again had the pleasure of shooting the group photo for the conference. Here’s most of the attendees and volunteers who make BarCampCHS happen every year:
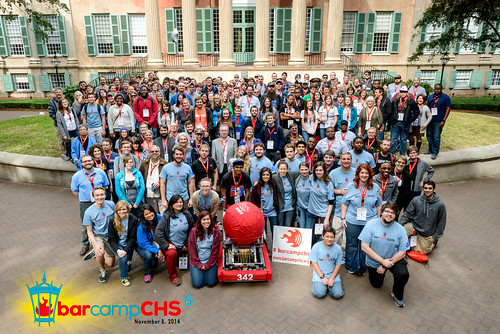
BarCampCHS 2014 Group Photo

And here’s a photo of me taking that photo, courtesy of Andy Paras form the Post & Courier:
Joeonladder


Summer Time

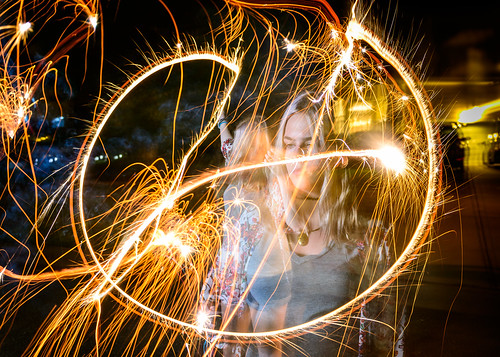
Mackenzie With A Sparkler

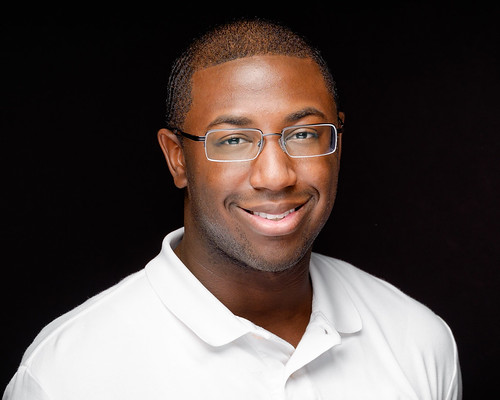
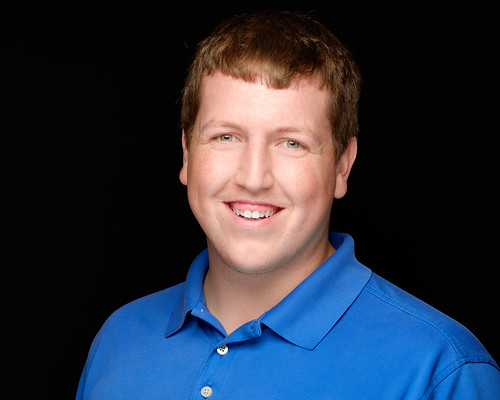
It’s been a very busy year so far – July 4th seems to sneak up and remind me just how fast time slips by. I’ve been busy growing my other business while still working this one. In fact, I surprised my crew yesterday by dragging in a light and a backdrop to the office for some surprise headshots:

Rashaud
Rashaud

Benjamin
Ben

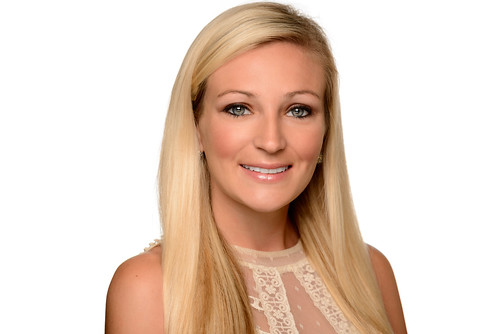
Speaking of headshots, I’ve been doing a lot lately for various professionals in the area. A few years ago, you could only thrive from doing headshots in a major market, but because of social media every professional needs one, not just actors and comedians.

Here’s a couple I did this past week:

Dr. Kelsey Harris Headshot
Dr. Kelsey Harris

Molly Slade
Dr. Molly Slade

I’ve also discovered that my Fuji X-T1 is quite the capable headshot camera. The two headshots of the guys in my crew were taken with the Fuji, while the two doctors were taken using my Nikon D800. While the flexibility gained by the controls, full frame sensor, and lens selection of the Nikon are paramount to shooting professionally, the Fuji’s results are almost indistinguishable when the output is simply an internet profile picture. The only drawback I found with my current lighting rig is that I need to close down the aperture on the Fuji a couple of stops because it shoots natively at ISO 200 and it’s a cropped sensor. That leads to more depth of field when shooting with strobe lights. For headshots like these, it’s not a problem though. For creative portraiture using these strobes it might be limiting, but I think a ND filter or two would help in that case. The look of a lens at it’s proper focal length that you get from a full frame sensor when compared to a cropped one can’t be beat, but like the US Soccer team’s performance in the World Cup game against Belgium, it comes really close by giving it its all – And that’s nothing to be ashamed of.

Sorry, I fell into a technical wormhole. Back to the photos…

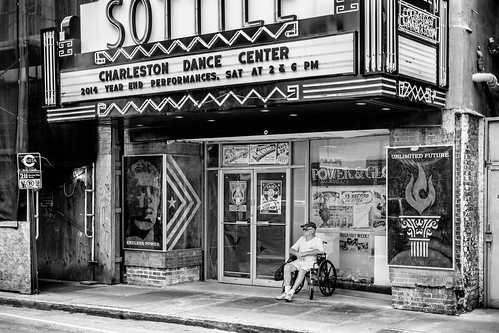
Sottile Theater Installation Obey
Shepard Fairey Installation At The Sottile Theater

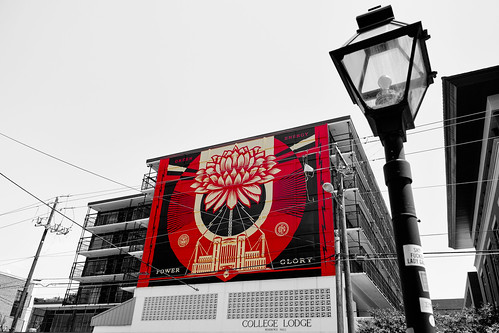
If you haven’t stopped by the Halsey Institute of Contemporary Art to see the exhibit of Shepard Fairey and Jasper Johns, you’ve got ’til July 12th to do so. The work is amazing and inspiring. Shepard Fairey has a few installations in the Charleston area, including the one above at the storefront of the Sottile Theater on King Street. There’s also a few murals that he’s put up, such as this one on one of the College of Charleston’s dormitories:

Shepard Fairey Mural in Charleston, SC
Selective Color Still Lives!

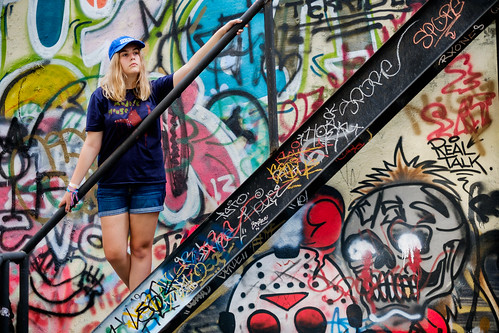
I do love some street art. In the right places, like the back alleys of the city where people store their trash, they bring color and joy. I find the story told by the street artists to be just as compelling as the story told by the architects on the main streets.

Fire Escape
The Other Part Of King Street

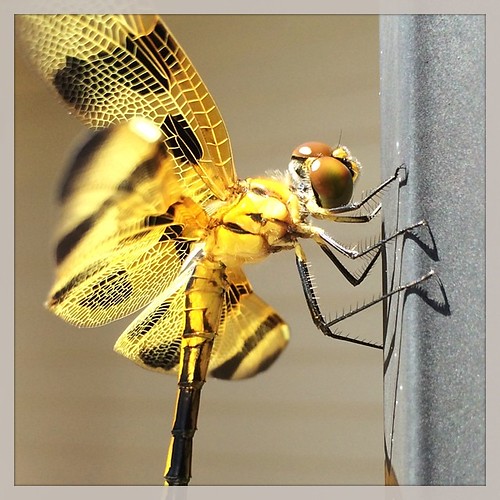
On another note, every once in a while I get reminded of just how amazing the camera in my pocket (the iPhone) is. I snapped this little dragonfly while walking into a client’s office the other day:

Dragonfly posing for an pic!
Dragonfly Instagram

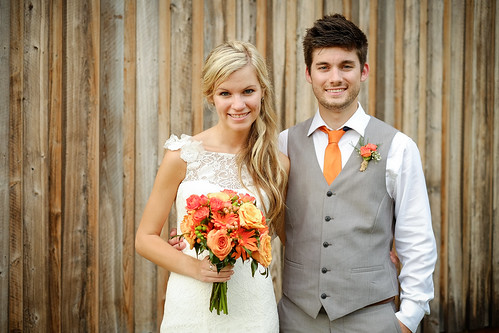
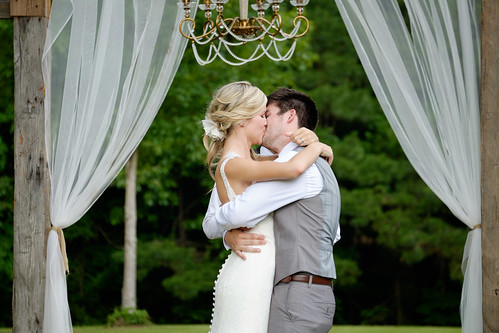
I also got to go to a wedding that I wasn’t working at for the first time in a looooong time. I still managed to take a few photos, but only because I wanted to, not because I had to!

Samantha & Jerry
Samantha & Jerry

Samantha & Jerry
Samantha & Jerry

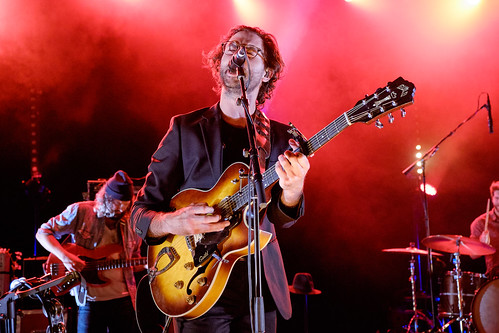
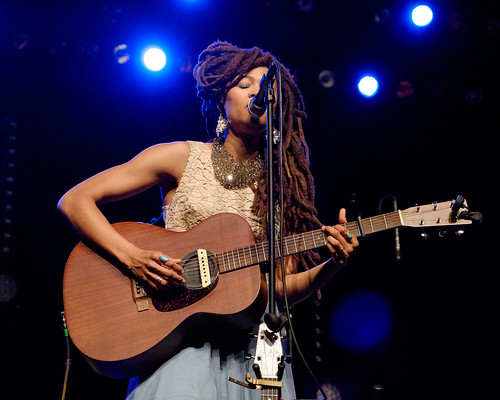
I’ve been seeing as much music as possible and spending some great time with my daughter in the process. We had front row center seats to see the Head and the Heart and Valerie June recently:

The Head and the Heart in Charleston 2014
The Head and the Heart

"Time tells all, but we only get a little slice of it... Then we gotta change" #ValerieJune
Valerie June

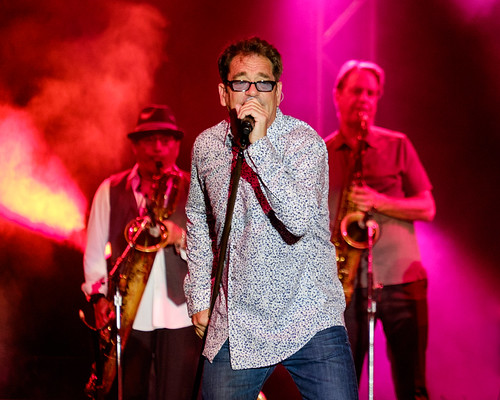
At the start of the summer I surprised my daughter during our “school’s out weekend trip to Disney World” with a visit to Universal Studios to see Huey Lewis & The News!

Huey Lewis & The News at Universal Studios
Huey Lewis & the News

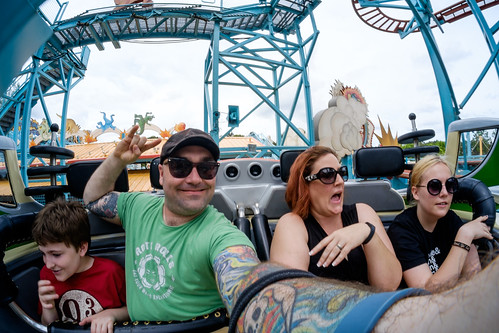
Speaking of Disney World, I captured this family photo with a Rokinon fish-eye lens on my Fuji X-T1 while we rode Primeval Whirl in the Animal Kingdom:

Animal Kingdom 2014
The Nienstedt Family

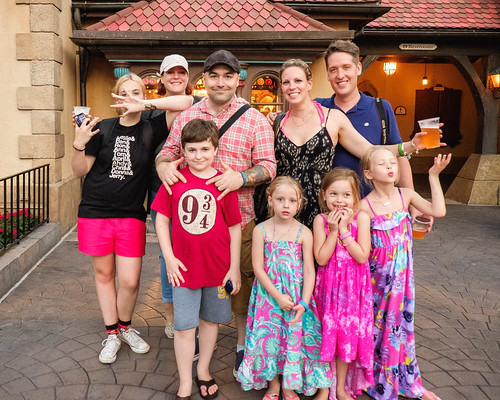
And while we were walking through Epcot’s World Showcase, we ran into some old friends. It’s Paulie Latex and Jenny Jelly of Latex Generation fame! Paul used to sing and play guitar in my band and Jen was our merch girl. I wrote a song about them when we were teenagers about how they would never last. I then wrote a song a few years later about being astonished that they were still together. Now they’ve got 3 girls and have been together for somewhere near 20 years. Holy crap was I wrong!

Latex Generation Family Photo Disney World 2014
Photo by Mrs. Edel

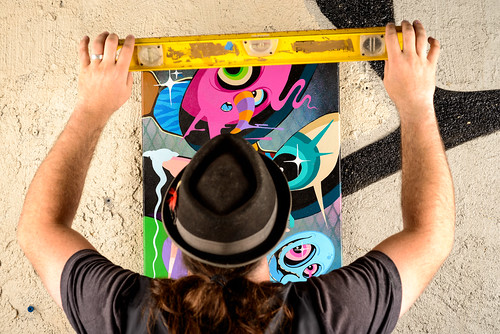
Local artist Patch Whisky asked me to shoot some of his artwork to be reproduced as prints that he’s now selling on his website. It was a different animal to shoot his monsters, but they sat well for the shoot…

Patch Whisky
Patch Whisky

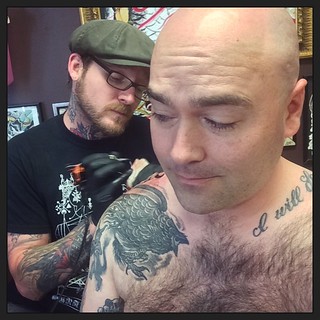
On the topic of artists, I sadly had to say goodbye to one of my favorite artists who gathered his family up and moved to the West Coast. Here I am getting one last tattoo from Rob Junod at Holy City Tattooing Collective:

Getting the Junod one last time (In Charleston) #holycitytattooingcollective #tattoo #IWantYourSkull #nipslip #organicsweater
Rob Junod & a Shirtless Me

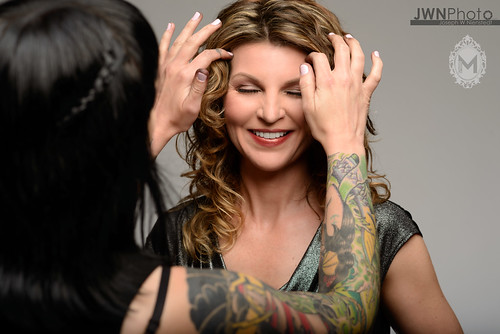
Rob’s wife, Amanda Rose, is a talented hair & make-up artist. I worked with with her recently for Shelly Waters, who hired me to shoot the cover of her upcoming CD. I’m bummed that the Junods had to leave, but I’m happy to see where their journey takes them as they are both immensely talented.

Shelly Waters and Amanda Rose

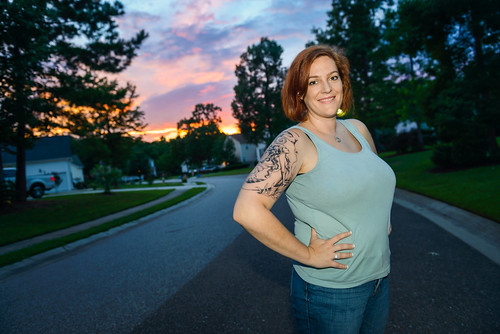
And finally, since we’re on the topic of tattoos and art, my wife Amy paid a visit to Margo at Holy CIty Tattooing Collective just yesterday to start work on a new piece on her bicep. It’s just an outline in this picture and it already looks amazing!

Amy's New Tat Sunset
Amy

I think that about wraps it up for this post. We’re planning a road trip later in the summer, so hopefully I’ll capture some fun photos of that adventure. It’s gonna be filled with plains, trains, and automobiles for sure!


Portrait Vs. Headshot

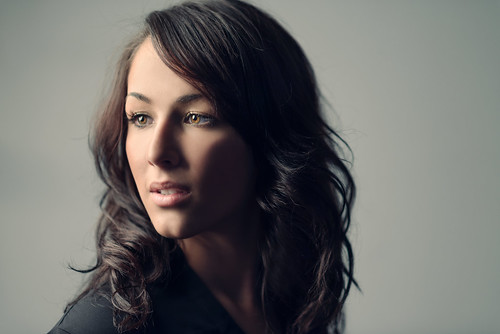
Amanda Cruz Portrait

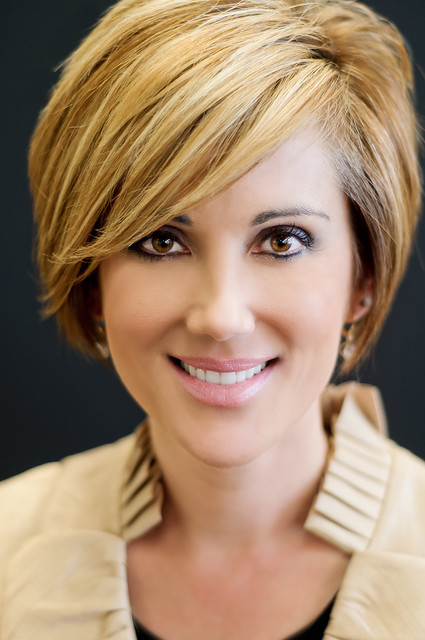
There’s a fine line between a portrait and a headshot. The main difference being that a headshot is a professional representation of the subject for the desired use of the photograph, while a portrait tells more of a story. It doesn’t have to be a complicated story either, just something that makes you wonder what’s going on. Dramatic lighting, coloring, and expressive poses can take the same subject wearing the same outfit with the same hair and make-up and transform the image completely.

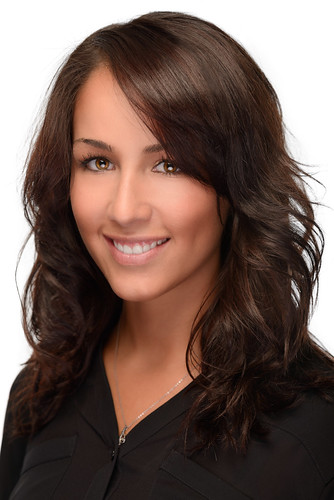
The photo above is of Amanda Cruz, who came by to get this headshot made for her new real estate business:

Amanda Cruz Headshot

These shots are only a few moments apart – The difference in her pose and expression coupled with a change in the lighting setup and you have a completely different product. Sometimes the difference can be subtle, so the best way to determine whether you’re making a headshot or portrait is in the story. Is the photo showing the subject being themselves? Is it displaying something in their character? Then it’s most likely a headshot. On the other hand, if the shot is implying an emotion, or leading you to imagine a scenario that is playing out for or in view of the subject, then you’re most likely looking at a portrait.


Baby Aurora

Aurora-15

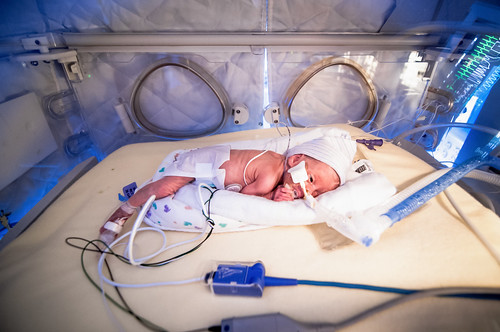
If you’re a regular reader, you might remember Aurora from this post. Just as a reference, this was her home for the first couple of months of her life:

Aurora

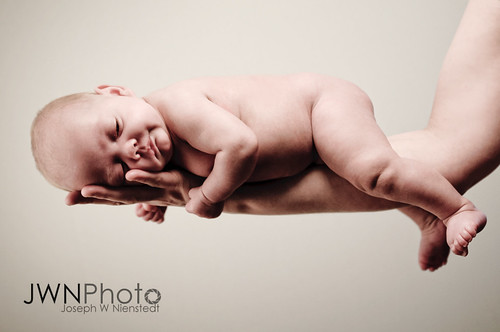
It’s hard to believe how perfect this little kid has become after such a scary start to her life. It’s also hard to believe that she was under 2 pounds when she was born – Look at those chubby little legs on the photo below!

Aurora-2

Now, she’s able to do this:

Aurora-1

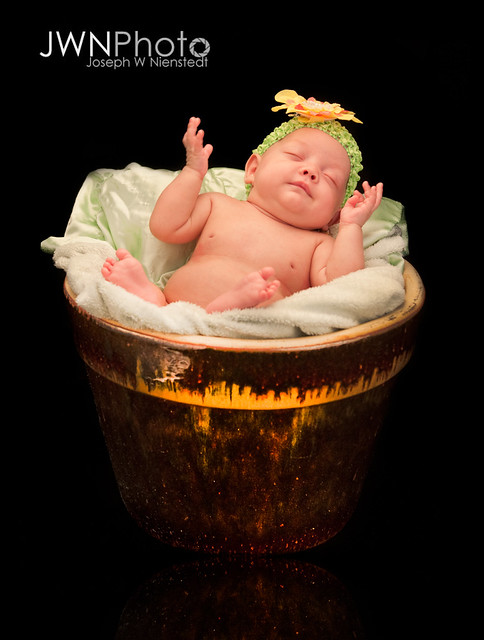
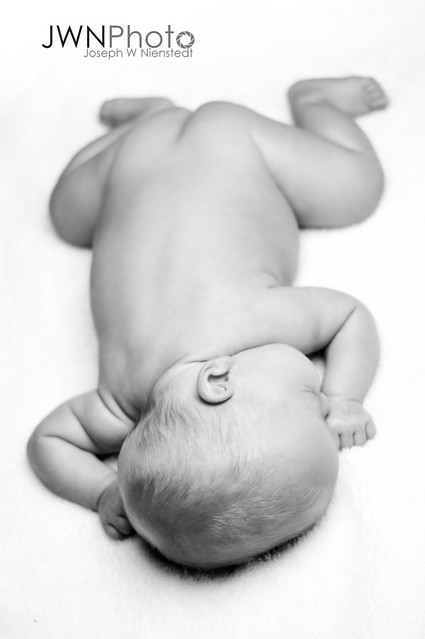
It’s simply amazing how far she’s come. Aurora popped over to the studio this weekend to get her infant shots done, and we had some fun with her indeed. Nothing is sweeter than a sleeping naked baby though…

Aurora-3

Aurora-5

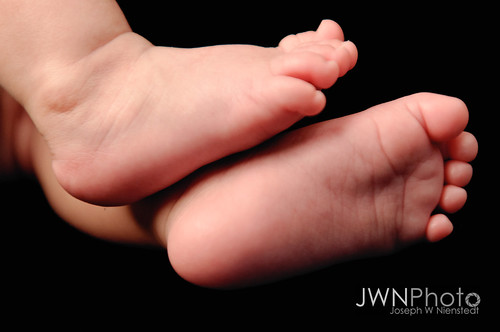
And you can’t forget to capture the details. Baby hands and feet don’t stay little for long 😉

Aurora-8

Aurora-6

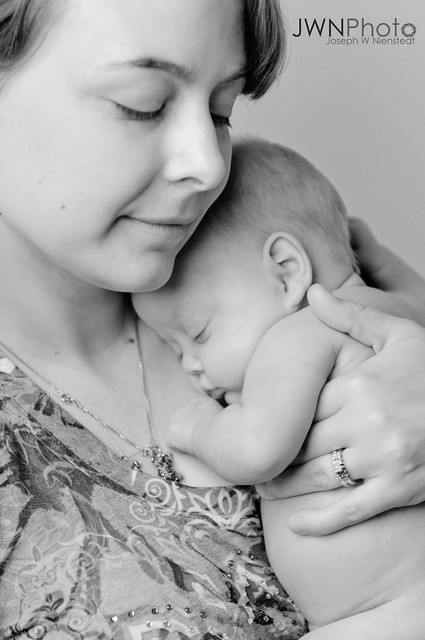
And here’s a moment with her proud mommy, Crystal:

Aurora-7

There’s magic when a baby connects for a split second with her eyes. It’s a special frame that you hope works out, because these looks are fleeting and hard to come by at this age.

Aurora-11

You can check out the full set of photos on Flickr. I think the fact that we could even have this shoot was so much more special than anything I could say about it, so I’ll just post another pic to wrap this up…

Aurora-13

Oh, she’s so cute I can’t stand it, just one more and then I’m outta here:

Aurora-12


Shaking It Up With Haiden

Haiden7BDayStudio-53

This weekend was a busy weekend for me – I had three different shoots, including a birthday party for the niece of one of my dearest clients. Haiden celebrated her birthday with a “Shake It Up” theme, and I was brought on to setup a photo shoot to capture these junior celebrities 😉

Haiden7BDay-53

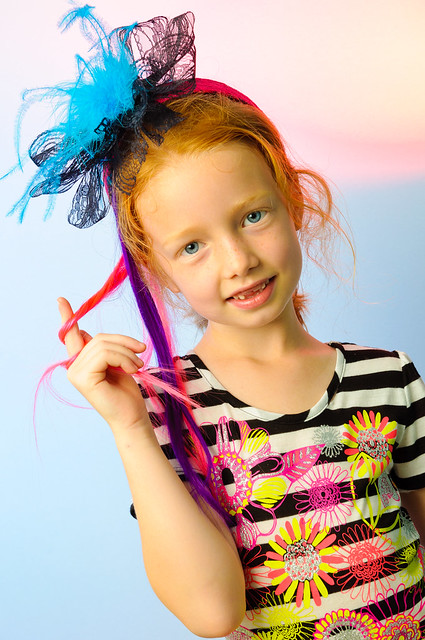
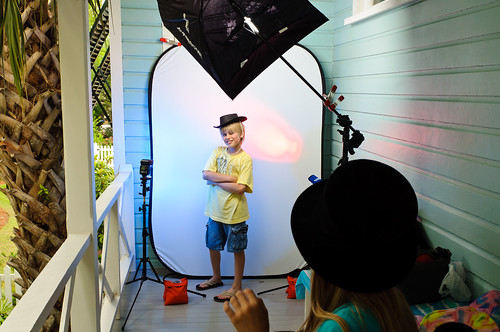
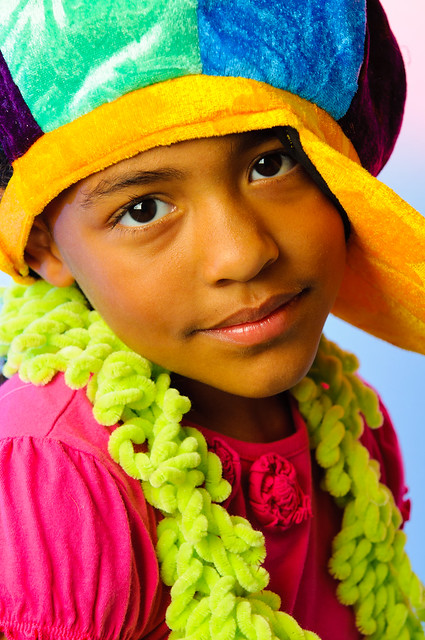
My “studio” was setup on the side of a Sullivan’s Island beach house porch. I had an array of hats and accessories for the kids to dress up in. You can see in the photo above that I created the coloring for the background using colored gels on a pair of speedlight flashes. The red gelled light on the right is also making use of the infamous beer coozie snoot. I also added some graphics to the finished portraits to finish them off:

Haiden7BDayStudio-34

The kids were really into it. I was so impressed with how well these kids played up to the camera. The shots I made were filled with energy and it really made the time fly (even if I had to listen to the likes of Selena Gomez for two hours)!

Haiden7BDayStudio-77

Haiden7BDayStudio-76

Haiden7BDayStudio-55

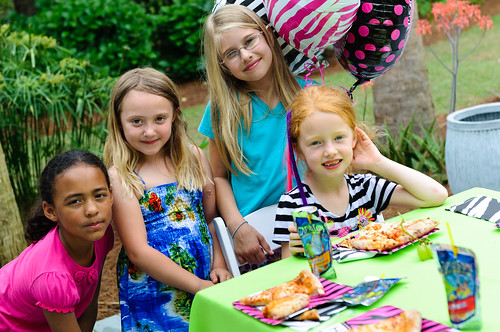
I also shot the event to capture some of the fun for the family and friends. The weather was perfect for photography – overcast early day light! The rain gods surely held out for this little girl, as the minute the party ended, the sky opened up!

Haiden7BDay-33

Haiden7BDay-1

Haiden7BDay-45

I shot this last shot of the party goers just as the rain started to fall. These kids were so awesome – they even helped me bring my gear to the car!

Haiden7BDay-73

Happy 7th Birthday Haiden!


Visualizing Rebecca

Rebecca-8

Rebecca is the latest friend to come to the home studio for a portrait session, and man is she amazing to photograph. It’s becoming quickly apparent that it’s impossible to get bored with portraiture when you have amazing people to work with who are creative and are game for anything. This time around, I had several shots pre-visualized before we began. The first one is this natural light portrait using windows as the light source. We took advantage of the fading afternoon light and went for a bedroom scene (in my dining room).

Rebecca-1

I put a bed sheet on an ottoman to act as a bed. The problem was that I forgot how tall Rebecca is, and any shot that showed her whole body on the ottoman looked quite strange. It made her look like she was in a toddler’s bed, which is less than sexy when you think about it. No problem, I just shot tighter on her and got an implied photo. Sexy’s back!

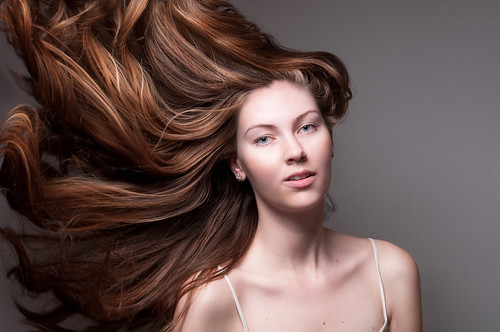
Next, I wanted to showcase her amazing long auburn hair. We broke out the industrial fan and had her whipping her head from front to back to get her hair to catch the wind like a sail.

Rebecca-3

My goal was to have her flip her head enough times until she passed out. Not really, but I’m sure it felt like that to her. This kind of shot is all about timing. Hit the shutter at the perfect time while the hair is spread out and her face doesn’t look like someone who’s moving up and down vigorously. That’s not an easy shot to get without a lot of attempts. Saying that she’s a trooper is an understatement.

Rebecca-6

This is my final pre-visualized shot. I wanted to get this angle showing the piano and guitar on one side of the wall and Rebecca on the other side. This is one shot – not a diptych. I was inspired to use some of my old records in it after a friend of mine from back in my punk rock musician days posted vintage photos of girls with records on his Facebook page. Thanks for the inspiration Frank!

Rebecca-7

Katie, who works with Rebecca and is also just plain awesome, was helping out with the shoot and got drafted into a similar shot. I’m blessed to know such beautiful people! This shot rocks almost as hard as Katie at an Avett Brothers show at the North Charleston Coliseum (I’m still indebted because she invited me into the box seats with her friends at that show).

Rebecca-5

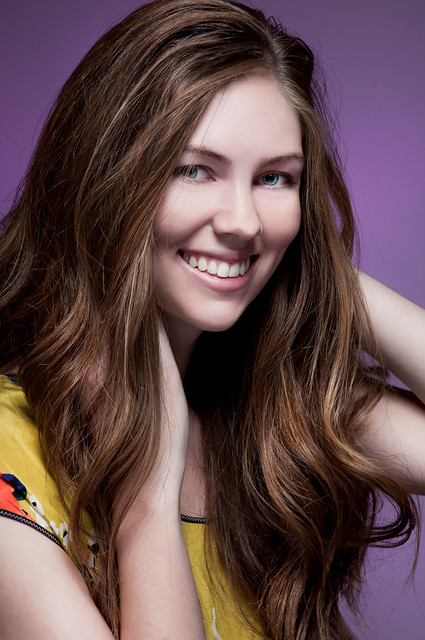
The above shot was a suggestion of Rebecca’s, which was to shoot her on a magenta background to compliment a green dress she wanted to wear. With such big bright blue eyes and the rich colors of her dress, her hair, and the background (I used a speedlight with a magenta gel on it to get that), I wanted to get a big smiling portrait. Rebecca’s such a fun girl that it’s more than easy to get a natural reaction out of her.

Rebecca-9

This was the final frame of the shoot. I love to do a head shot like this at the end of a shoot because at that point the person has been coached so much that they just easily connect with the camera. They’re all warmed up and comfortable, and it’s also quite a slow-down from the rest of the shoot. I just use the modeling lights and a 50mm lens, and really tone it down. I can fire off multiple shots while talking and complimenting the subject on the work we just did, and it really makes for a beautiful expression.

As I do this more, I’m really seeing the importance of vision over technical ability. You need the technical ability for sure, but without the vision, making a good photo becomes a game of luck. Why take only chances? The photo at the top of this post is an example of free-styling it. It might be one of my favorite shots that I’ve made in a long time, but it really was a lucky shot that I got while we were working out some fashion poses. Her expression is amazing and it was a decisive moment that was lost in the very next frame of the same setup. The blowing hair shot though, which was heavily planned and worked on, was destined to succeed because I knew exactly what I wanted it to look like before I took the shot. Sure, luck is a great thing, but it’s not predictable. Hard work and visualization can be.


Haley (Part 1)

Haley

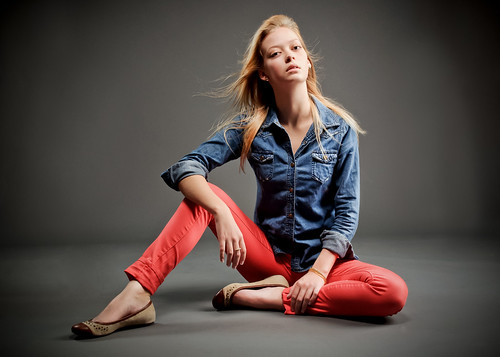
Over the weekend I setup the home studio and invited Haley over to be the first model in it. I’ve been exploring the different practices of people photography lately, and I have to say that this shoot was one of my favorites. It could just be the fact that Haley was an amazing model to work with, but I really had fun. She also had fun (it shows), and my assistant wife Amy had a lot of fun as well. In fact, Amy played a huge part in coming up with poses as well as keeping the energy up (we shot late into the evening). Here’s one of Amy’s pose ideas:

Haley

Haley is such a natural. Every shot felt like a keeper – in fact I haven’t even gone through all of them yet. I felt I needed to share these with you fine readers, hence the “Part 1” – there will be more of these soon!

Haley

Haley

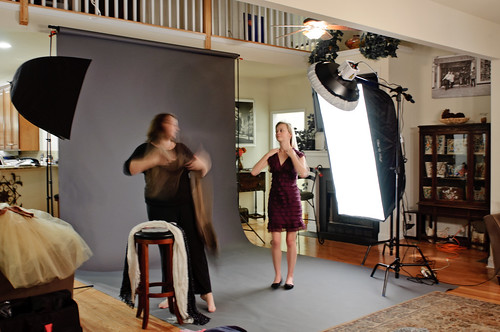
So, here’s a behind-the-scenes shot of my home studio – You can see how I had the lights set up for this shoot. The giant softbox is an AB800 as the fill, the beauty dish is my 2nd AB800 as the main light, and there’s an SB-600 speedlight in the smaller softbox as a kicker in the back.

Haley

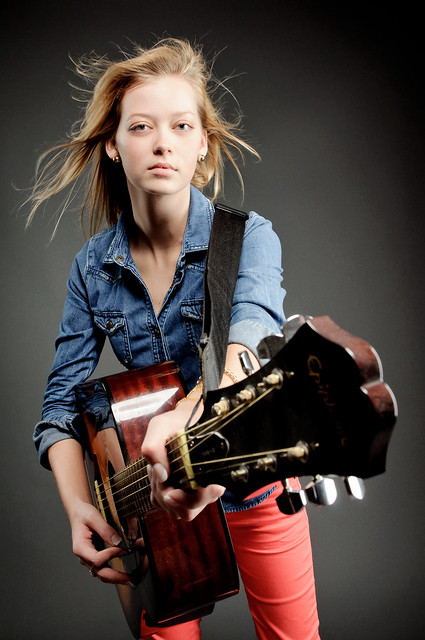
After getting some traditional poses, things started to loosen up and we got shots such as the guitar one up top. Each time she changed clothes, she brought a new energy. She also got to choose the music, which I provided via Pandora. I asked her who her favorite musical artists were and she was quick to respond with Florence + The Machine. If you’re looking for a good alt-rock Pandora channel, that one does the job!

Haley

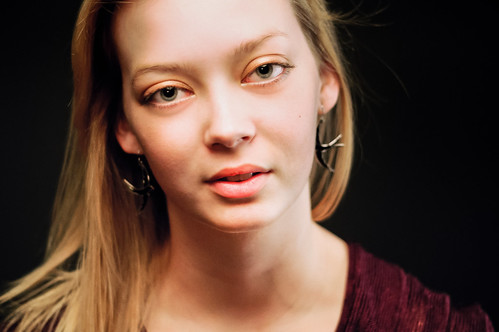
I’ve also been reading and watching a lot of stuff from Peter Hurley about headshots lately since his guest blog post on Scott Kelby’s blog last week, and I find his style and approach really inspiring. I threw on my 50mm f/1.8 and since it was late and I couldn’t shoot with natural light, I used the modeling lights from the Alien Bees to get this:

Haley

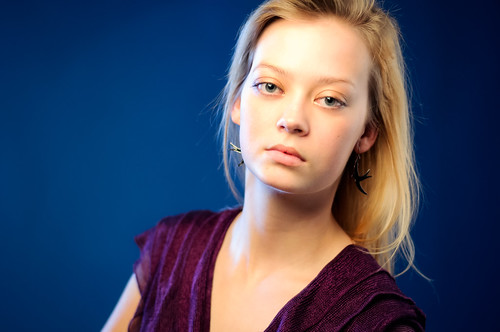
I set the white balance to incandescent for that shot, but when I turned on the Nikon SB-600 in the kicker softbox, the flash color turned the background blue to get this effect:

Haley

In post, I decided to experiment a little on a couple of shots. Here’s a black & white:

Haley

And finally, here’s a composite I made with an image I shot at Tugaloo State Park last year. After combining the two, I used a cross-processing effect to get the color.

Haley

This was my first attempt a fashion style photography, and while I have a lot of learning ahead of me, I think Haley definitely made this look better than I expected!

More to come very soon…


Building

AlienBees Mac

Isn’t she dramatic? Oh, the trials and tribulations of a pre-teen. Actually, most of the pictures of my daughter I took were of extremely goofy faces and the ridiculous looks she likes to give me when I use her as my test model. I happened to get a couple of in-between shots where she wasn’t ready with a smirk 😉 Here’s one with her grinning:

AlienBees Mac

Of course, my son couldn’t let her take all of the glory…

AlienBees Kegan

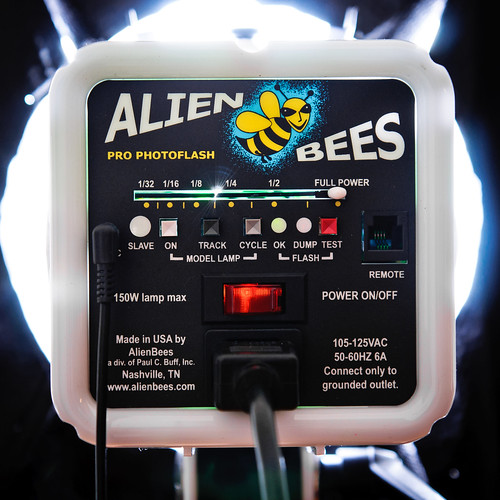
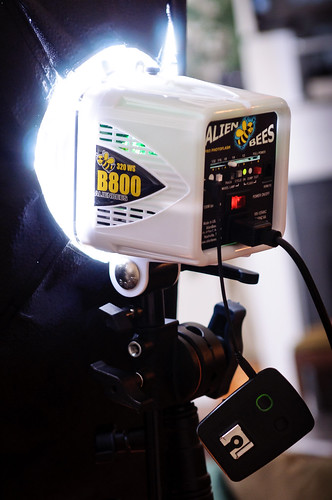
So the point of these test shots was to try out my new giant softbox from Paul C. Buff, which is being powered by an AlienBees B800 monolight. I’ve been primarily a speedlight kind of guy for a long time, only renting bigger lights for special occasions. I’ve recently decided to expand my photography and some of the things I’m going to start shooting are more in the fashion, portraiture, and editorial style of work. That means proper studio lighting. Now, I’m not going to jump into a Profoto system right off the bat, and since I’ve used AlienBees in the past, I’ve decided to start with a couple of B800’s.

AlienBees B800

*Warning* Here comes a bunch of technical talk…

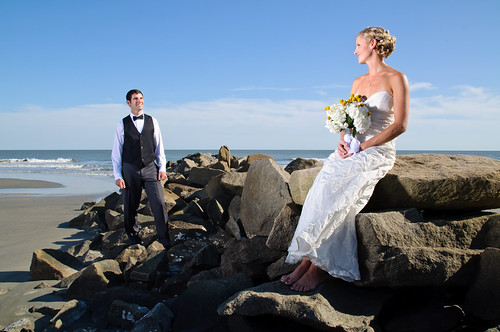
Here are the reasons I chose to go with this particular model: The AlienBees line has a 6 full f/stop range on their lights, so the highest power B1600 can only be stopped down to 20 Ws, while the B800 can go down to 10 Ws at 1/32nd power. I’ll rarely (if ever) need to shoot at full power on the B800 for the applications I’m intending them for, but for shooting wide open like I did in the two shots of my daughter above, I need lower power. Even with the B800 I had to lower the ISO to 100 (the native ISO on my Nikon is 200) to shoot at f/2.8. The shot of my son was at f/8, and you can see there is a lot more detail in that shot overall – it’s a totally different look. I like to have options easily available without having to throw light eating filters on my lens or lights. In this beach wedding shot taken in harsh mid-day sunlight, I had rented a B1600 and never went over half-power, so I don’t see myself needing the extra daylight-crushing power just yet.

Emily & Joe

The best choice of the Paul C. Buff line of lights for versatility is the Einstein, but since I’m trying to gradually build up, I know that the B800 will be versatile enough for almost 1/2 the price. In the future I hope to add an Einstein as my main light and then move the Bees to fill and/or accent lights, but for now I’m very happy with the range of the B800.

I also had one very important and extremely technical choice to make when getting the AlienBees lights. Which color to get? I really like the white since it’s different enough without looking goofy – I saw someone using a pink one lately and it was a bit much for my taste 😉 I didn’t want to go with black since the Einsteins are only available in black and I want to be able to quickly differentiate between the different models in the future. Telling a less knowledgeable assistant to move the white light is easier than calling out a model number!

AlienBees B800


Shooting The Boss

No, not The Boss, although I’d be gushing about that non-stop for weeks if I could ;). I’m talking about the broker in charge of Carolina One Real Estate’s Main Street office, Christina Ellis. I call her the boss, because she’s my wife’s broker.

Christina

There’s just a little bit of stress when you get tasked to shoot a head shot for your wife’s boss. Not just the usual responsibility of making someone happy with the way they look (trust me, most people cringe at the thought of having their picture taken, so us photogs have to damn near have a psychology degree to convince people that you’ll make sure they look their best), but the responsibility of making your wife not look like a jerk for referring you if you botch the job!

Christina

Luckily, it would take a complete failure of epic proportions to botch a job like this – Christina needs no help from me to look good. She’s naturally photogenic, so the only thing I need to worry about is getting the light right. Here’s the diagram of the white background, which was a reversible collapsible background from Adorama. Note my method of lighting the background with bounce umbrellas and feathering the light from them to give me some rim lighting for the subject.

I had the softbox right up close to her. In fact, it was so close that I had my assistant, aka my wife Amy, hold the bottom lip of the box up so it wouldn’t get in the shot. For the black side, I had to ditch the umbrellas and use snoots to focus the light so it wouldn’t influence the blackness of the background. The snoots are actually just beer cozies with the bottoms cut off. It’s an ingenius idea I learned from wedding photographer David Ziser in one of his Kelby Training videos.

One of the problems that arose is something that I’ve been dealing with for quite a while now. My go-to medium zoom lens is a Tamron 17-50mm f/2.8. About 6 months or so ago it started to get stuck at 24mm when twisting the zoom ring. It’s very annoying, but I can just pull the lens from the front cap and it will move. I was ineligible for warranty coverage because I bought a display model, so it’s considered used. Another problem is that it’s not sealed well at all, so there is a ridiculous amount of dust inside the lens. It’s not noticeable at large apertures, but if I venture past f/11, it’s unusable. The worst problem of all though is the random focusing issues, which is what plagued me during this shoot. I can fire off a series of shots and some will be blurry for no good reason, other’s will back focus a few inches so that the ears are the only thing that’s sharp, and if I’m lucky, one will be just right. This is not just annoying, it’s a hazard! My favorite shot expression-wise from this job had to be ditched because the eyes were muddy, but the hair on the back of her head was tack sharp. I broke down and ordered a new lens as soon as I got home because of this. If I’m charging people their hard-earned money for a product, then it’s my responsibility to give them the best product I can make. I’ve been able to squeeze by with the shortcomings of the Tamron for a long time now, but this showed me once again that I can lose the best moment because of it, not because of my lack of ability. I’ll also steer clear of Tamron lenses from now on since their quality control is notoriously uneven and their warranty policy is proof of that. If I tried to sell this lens, I’d get next to nothing for it – it holds no resale value (especially since it’s technically broken). I have gotten by with it for a long time despite of it’s shortcomings, but I’ve known to shoot a lot of photos in case one is blurry or back-focused.

The last photo I shot of Christina was shot with a Nikon 50mm f/1.8 prime lens. I wanted a natural light, shallow DoF photo more for myself more than for the job, but to be honest, I bet she likes this one the best also. I just popped on the prime lens, opened it up as large as it will go and got in really close to her. Simple, quick, and an example of what a good lens is capable of – I only took two shots like this and that’s because the first one still had the white balance set to flash on the camera.

Christina

I’ll write up a post about my new lens when I finally get to do some work with it. I’m super excited because it’s a Nikkor lens, so I know it will rock!


BarCampCHS Session Wrap-Up

BarCampCHS Group Photo
Group Photo of the BarCampCHS attendees

Yesterday was the 3rd annual BarCampCHS event, and like last year it was held over at the College of Charleston campus in downtown Charleston, SC. As mentioned in an earlier post, I held a session on Off-Camera Flash. Before I talk about the highlights of my presentation, I wanted to share a bit of the BarCamp experience.

BarCampCHS
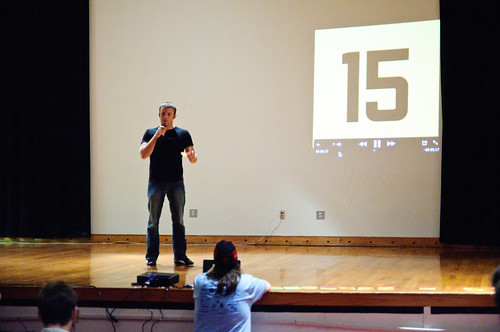
30 Seconds To Pitch

After you register and get your bag o’ swag, the attendees gather in an auditorium and the people who plan on holding sessions get 30 seconds each to pitch their idea. As you tell everyone what you plan to do, a counter is counting down behind you (a few people did have to get the mic taken away from them mid-thought). In reality, you only got about 25 seconds to pitch since people started counting down the final 5 seconds. I found it quite entertaining, especially when some mouthy participant trying to hawk a couponing network-marketing scheme went over his 30 seconds and tried to continue without the mic. He was followed by @CaananTully who pitched a session on saving money at the supermarket without using coupons. The crowd applauded loudly. Afterward, the attendees lined up to vote on which sessions they’d like to attend.

With that, sessions began about a myriad of topics, although it was highly concentrated on computer programming. Some of the more popular sessions focused on geek culture, including a session about modifying old Nintendo Entertainment System games such as Super Mario Brothers.

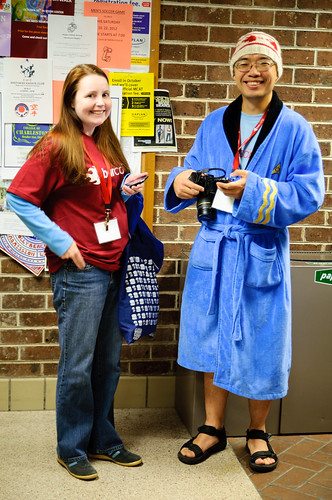
BarCampCHS
Eugene Mah Flaunts His Bathrobe Style

Eugene Mah took a lot of great photos of the days events, and they can be seen here. There is a BarCampCHS Flickr Group to check out, as well as my full set of photos. Twitterer @Pataford has a Ustream channel with some video he took. If you have some content I missed, please let me know in the comments! Now, on to my creative session:

Off-Camera Flash 101 Session


Slides from my BarCampCHS presentation

I started off the presentation by a short introduction and recap of my session from last year on photo editing. I showed some of the photos we made and edited and started talking about the creative use of lighting in the shots. This led to a brief discussion on why you would want to use off-camera flash. I also touched a little on why you would ever use your on-camera flash, and showed an example of fill flash outdoors during a bright and sunny day.

Next, we talked about shooting in manual mode – both on the camera and on the flash. We talked about the benefits of TTL as well as its shortcomings and why it’s important to know how to use manual flash, especially when working with light modifiers. I explained how when dealing with off-camera flash, you can control your ambient light with your shutter speed and your flash power with your aperture settings. Someone asked about ISO settings, and I explained that you want to shoot in your camera’s native ISO when dealing with lighting to produce consistent and clean images.

The next part of the session dealt with the different methods of getting your flash off of your camera. The first method was using bounce flash. I explained that even though the flash is still technically on the camera, the light source is now whatever you are bouncing the flash off of, which is indeed off of the camera. @TheKingOfGames volunteered to be our model as we took some sample shots. We started with a shot with the flash on the camera to reference the difference.


Straight Flash on the Camera

As you can see, the shot is not all that flattering. Someone in the class said “It looks like something you might see on Facebook”. I then showed the differences when bouncing the flash off of the ceiling or wall. In the following shot, I used the projector screen to bounce off of, which was really bright and reflective:


Bounce Flash Off A Wall

You can immediately see the difference in the quality of light. I talked about the softness and direction of the light, which made for a more defined image whereas the straight flash shot was very flat.

Next we talked about using a wire to move the flash off of the camera. The benefit being reliability while being able to cheaply transmit TTL information, with the downside being limitations of the cable’s length. We briefly talked about the different standards in cables, including PC Cables, 1/8″ Audio-Style Cables, and TTL Cables. I had a TTL cable that I use with my bracket, so we took a test shot using the bare flash:


Bare Flash Using a TTL Wire

Since I only had a short cable, I was able to demonstrate the limitation of the distance I could place the flash away from the camera (about arm’s length).

We then talked about wireless flash. I covered the three main methods of shooting wireless: Optical, Infrared, & Radio. We discussed the benefits and issues with each method. Optical is cheap but unreliable. Infrared can transmit TTL information, can be cheap depending on the hardware you already own (it also can be quite expensive if your camera doesn’t support it), and how you can control the flash settings from the camera. It’s also limited to line of sight and is very unreliable outdoors. I took a test shot using the pop-up flash on my D90 in commander mode to fire an SB-600 on a mini tripod to camera right:


IR Wireless Flash Test Shot Using an OmniBounce Diffuser

I spent the most time on radio triggers. I talked about the Pocket Wizards and Chinese knock-offs. I explained that you can buy about six Cactus v5 triggers for the price of one Pocket Wizard Plus II and according to many reviews and tests, the Cactus v5 is more reliable! I also touched on the newer Pocket Wizards and Radio Poppers that are able to transmit TTL information. I explained that for the cost of that convenience, you could be investing in some great lights! Sure it would be nice to justify having the top of the line triggers, but there’s no shame in buying a set of reliable knock-offs when you can achieve the same end-result for a fraction of the cost.


Photo by Daniel Vice @sharpstick on Twitter

I started doing some shots using an umbrella. I demonstrated how to control the flash power by changing the aperture, and then mixing ambient light with flash by adjusting the shutter speed. I showed how to match the ambient florescent lighting and flash lighting by gelling the flash with a green gel and setting the white balance in the camera to florescent.


Umbrella Look

I also talked about sync speed. I demonstrated what happens when you shoot faster than your sync speed:


Shooting Faster Than Your Sync Speed

I then changed the umbrella and set it up as a shoot-through umbrella and showed how it created a different look.


Photo by Daniel Vice @sharpstick on Twitter

I took a few shots as I moved the light around to get a softer look.

BarCampCHS Lighting Session
Shoot-Through Umbrella Look

I also altered the model’s position a bit and added another flash onto my camera at its lowest power setting to try and achieve a small catchlight in his eyes. This was our final result, which will hopefully make for a nicer Facebook profile pic than what we started with 😉

BarCampCHS Lighting Session
Final Shot

We did some Q&A, and I shared some resources for learning about camera lighting. Here’s my list:

joemcnally.com – Joe McNally
strobist.com – David Hobby
zackarias.com – Zack Arias
kelbytraining.com -Scott Kelby

I also wanted to add a pair of new eBooks by Piet Van den Eynde on Craft & Vision. You can pick up each of the two eBooks for $5 each, or buy them both at the same time for only $8. He’s done an excellent and thorough job in the first book of introducing the reader to off-camera flash, and takes you much further in the second one. I think it’s definitely worth more than $8!

Tech Specs For My Presentation

Gear:

Camera: Nikon D90
Lens: Tamron 17-50 f/2.8 VC
Flash: Nikon SB-600
Light Stand: Manfrotto 5001B
Umbrella: Photek Softliter II
Wireless Triggers: Cactus v5
Gels: Cokin Photogels
Mini Tripod: Jobi GorillaPod

I ran the presentation on an iPad hooked up through a projector using Keynote for the slides and Photosnitch for the live demo. I used an EyeFi wireless SD card to transmit the photos to the iPad sans cables.


Privacy Settings
We use cookies to enhance your experience while using our website. If you are using our Services via a browser you can restrict, block or remove cookies through your web browser settings. We also use content and scripts from third parties that may use tracking technologies. You can selectively provide your consent below to allow such third party embeds. For complete information about the cookies we use, data we collect and how we process them, please check our Privacy Policy
Youtube
Consent to display content from - Youtube
Vimeo
Consent to display content from - Vimeo
Google Maps
Consent to display content from - Google