Articles Tagged with: flash

Multiple Exposure at BarCampCHS 6
Barcamp-2014

I’ve led a photographically themed session at the annual BarCamp “unconference” in Charleston since 2010, with sessions on post-processing, lighting, retouching, and iPhonography. This year I tried to tap into the technical aspects of creative photography that have existed since the film days – Multiple exposures. We explored two different techniques, one involving a long exposure with multiple speedlights, and the other using the in-camera multiple exposure feature.

The first demonstration involved off-camera lighting. I used two speedlights and radio triggers to get this effect. I use Cactus v5 radio triggers, which allow me to assign a separate channel to each flash as well as fire them both at the same time. I set the flash on camera left to channel 3 and the one on camera right to channel 2. I set the camera to bulb mode, shut off all of the lights, and shot at ISO 100 and f/9 from a tripod. Rachel is the model, and her brother controlled the radio channels. As I held the shutter open, I had her do each pose and had her brother switch to the appropriate channel and fire the flash. This was the result:

Rachel - BarCampCHS

That’s not a Photoshopped image. It’s all one exposure as far as the shutter actuations are concerned. The multiple exposures come from the separate speedlight actuations. Pretty cool, huh?

The next technique is a function of most DSLRs – a feature called “Multiple Exposure”. I learned something new about this feature on my Nikon – It’s not available when you’re shooting tethered! Oh well, after a long minute of trying to figure out why I couldn’t get it to work, I unplugged my camera from the presentation computer and got started. The way I set my camera up this time was to set the Multiple Exposure setting to 2 images in a series and then disable the auto-gain. For the effect of constraining the 2nd exposure within the 1st exposure’s silhouette, I wanted the background to be blown out (which is why you want to disable the auto-gain). This technique doesn’t require any special lighting, but since we were in a classroom, I used my speedlights to blow out a white wall behind my subjects.

This is John, who certainly had the best beard in the whole conference (probably in all of the Charleston peninsula for that matter). Another attendee had this vibrant purple paisley laptop bag with her that I used for the second exposure. Together they made quite the juxtaposition:
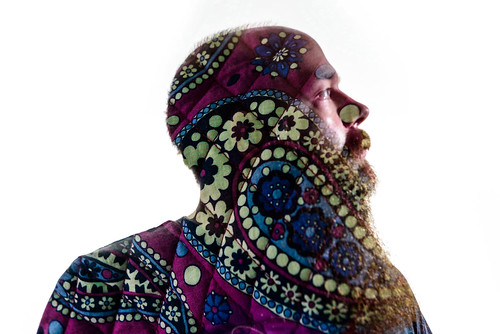
John - BarCampCHS

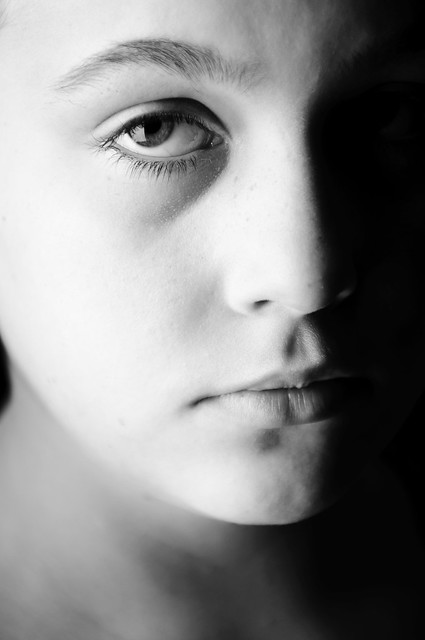
We had time for one more example, so using the same technique, I had this idea that came from something I saw that day at the College of Charleston campus. All over the walkways there were messages about speaking out about rape. There were hashtag messages such as #nomeansno and #itsnotyourfault written in chalk everywhere.

I asked my daughter Mackenzie to pose with a very sad and angry expression, and then I got a few people to stick their hands out for the second exposure. The idea of the shot was to see where you can take the technique creatively. In trying to make a visual interpretation of these messages we all saw that day, this was the result. I didn’t let on that that was what I was going for while we were setting this up because we were having fun during the session, so I hope that anyone who was there didn’t misinterpret my light-hearted presentation as making light of the seriousness of sexual assault in all of its forms.
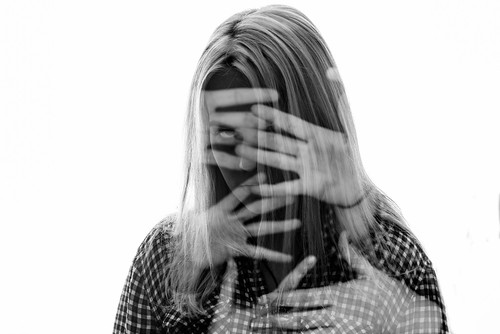
Mackenzie - BarCampCHS

Finally, I once again had the pleasure of shooting the group photo for the conference. Here’s most of the attendees and volunteers who make BarCampCHS happen every year:
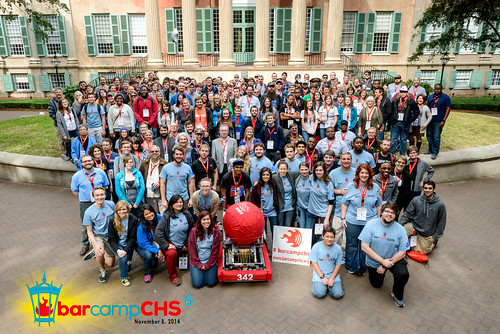
BarCampCHS 2014 Group Photo

And here’s a photo of me taking that photo, courtesy of Andy Paras form the Post & Courier:
Joeonladder


Building

AlienBees Mac

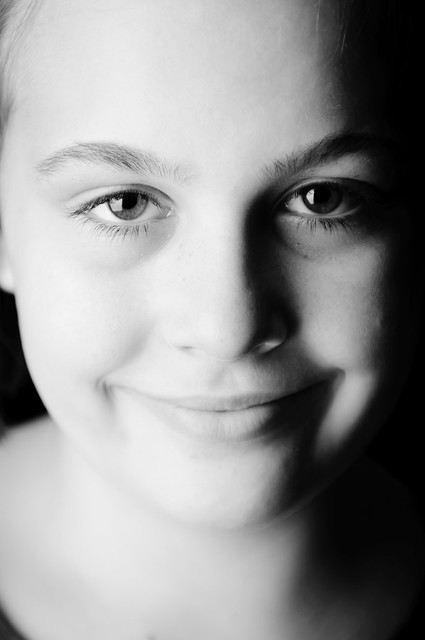
Isn’t she dramatic? Oh, the trials and tribulations of a pre-teen. Actually, most of the pictures of my daughter I took were of extremely goofy faces and the ridiculous looks she likes to give me when I use her as my test model. I happened to get a couple of in-between shots where she wasn’t ready with a smirk 😉 Here’s one with her grinning:

AlienBees Mac

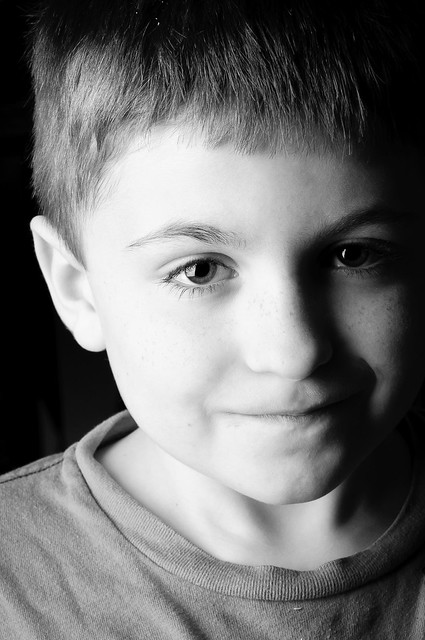
Of course, my son couldn’t let her take all of the glory…

AlienBees Kegan

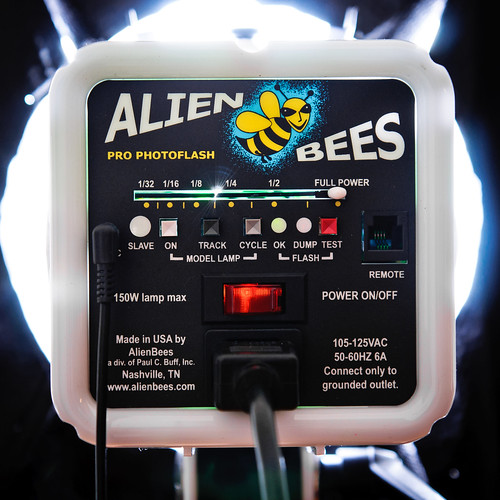
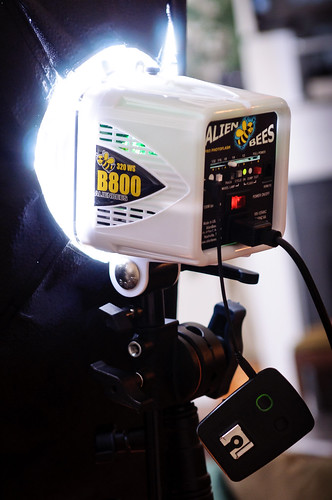
So the point of these test shots was to try out my new giant softbox from Paul C. Buff, which is being powered by an AlienBees B800 monolight. I’ve been primarily a speedlight kind of guy for a long time, only renting bigger lights for special occasions. I’ve recently decided to expand my photography and some of the things I’m going to start shooting are more in the fashion, portraiture, and editorial style of work. That means proper studio lighting. Now, I’m not going to jump into a Profoto system right off the bat, and since I’ve used AlienBees in the past, I’ve decided to start with a couple of B800’s.

AlienBees B800

*Warning* Here comes a bunch of technical talk…

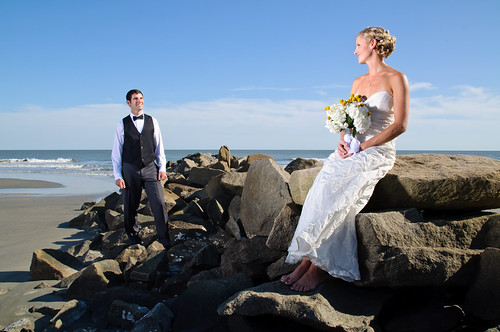
Here are the reasons I chose to go with this particular model: The AlienBees line has a 6 full f/stop range on their lights, so the highest power B1600 can only be stopped down to 20 Ws, while the B800 can go down to 10 Ws at 1/32nd power. I’ll rarely (if ever) need to shoot at full power on the B800 for the applications I’m intending them for, but for shooting wide open like I did in the two shots of my daughter above, I need lower power. Even with the B800 I had to lower the ISO to 100 (the native ISO on my Nikon is 200) to shoot at f/2.8. The shot of my son was at f/8, and you can see there is a lot more detail in that shot overall – it’s a totally different look. I like to have options easily available without having to throw light eating filters on my lens or lights. In this beach wedding shot taken in harsh mid-day sunlight, I had rented a B1600 and never went over half-power, so I don’t see myself needing the extra daylight-crushing power just yet.

Emily & Joe

The best choice of the Paul C. Buff line of lights for versatility is the Einstein, but since I’m trying to gradually build up, I know that the B800 will be versatile enough for almost 1/2 the price. In the future I hope to add an Einstein as my main light and then move the Bees to fill and/or accent lights, but for now I’m very happy with the range of the B800.

I also had one very important and extremely technical choice to make when getting the AlienBees lights. Which color to get? I really like the white since it’s different enough without looking goofy – I saw someone using a pink one lately and it was a bit much for my taste 😉 I didn’t want to go with black since the Einsteins are only available in black and I want to be able to quickly differentiate between the different models in the future. Telling a less knowledgeable assistant to move the white light is easier than calling out a model number!

AlienBees B800


Privacy Settings
We use cookies to enhance your experience while using our website. If you are using our Services via a browser you can restrict, block or remove cookies through your web browser settings. We also use content and scripts from third parties that may use tracking technologies. You can selectively provide your consent below to allow such third party embeds. For complete information about the cookies we use, data we collect and how we process them, please check our Privacy Policy
Youtube
Consent to display content from - Youtube
Vimeo
Consent to display content from - Vimeo
Google Maps
Consent to display content from - Google