Category: Projects

Kulture Klash 7 Announced

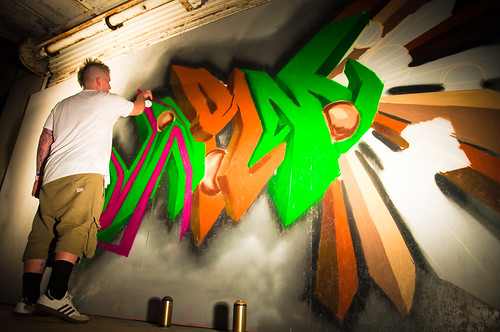
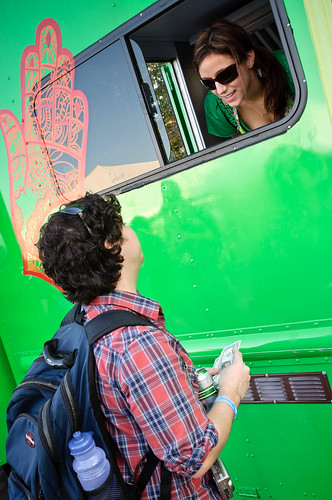
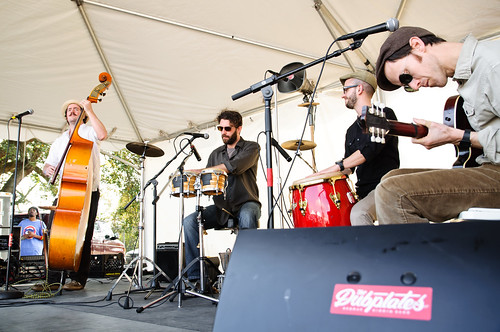
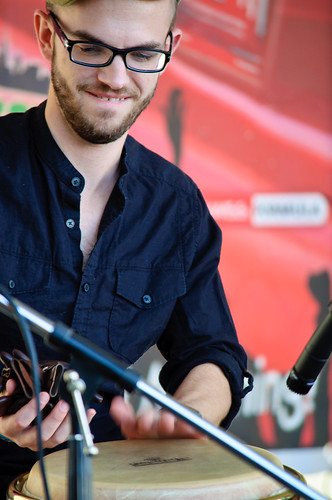
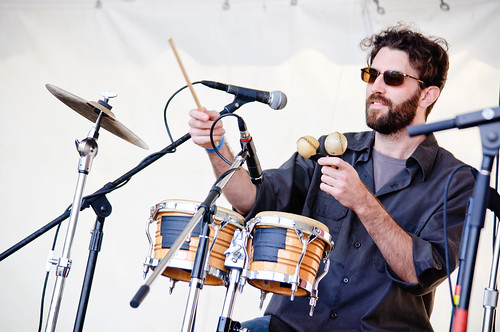
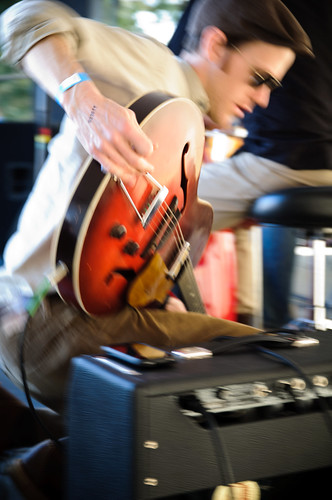
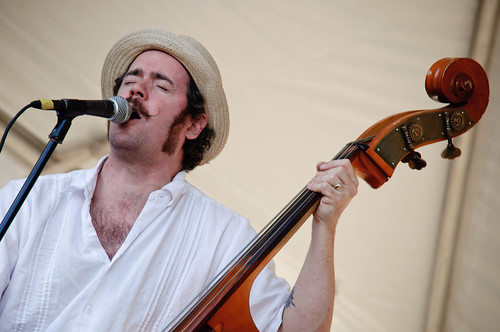
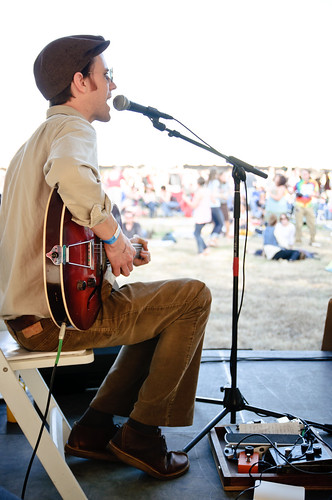
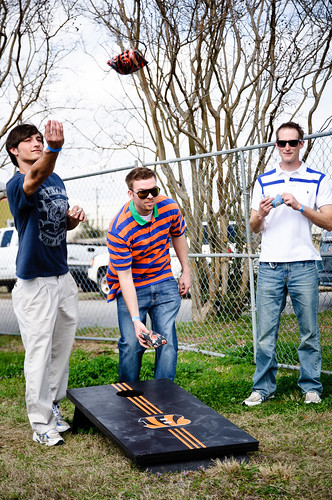
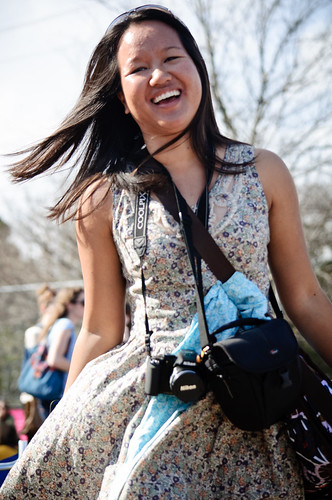
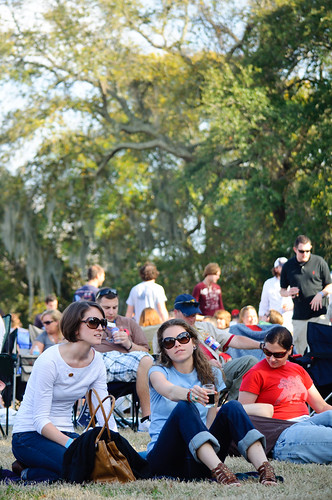
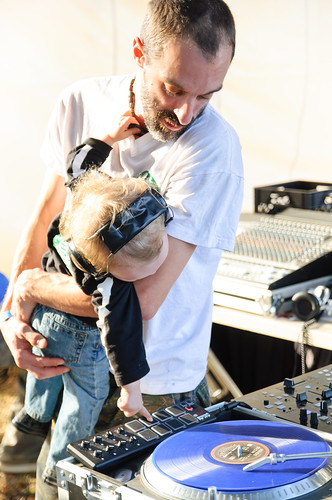
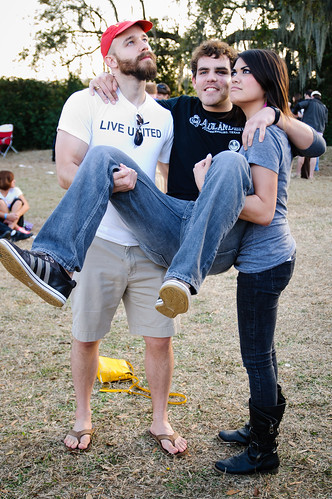
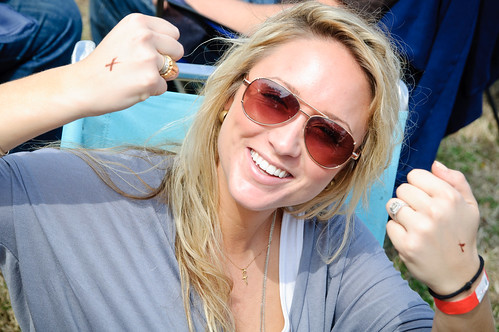
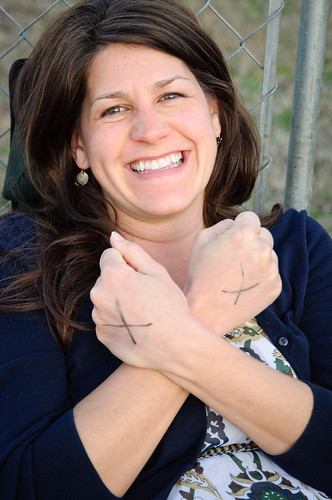
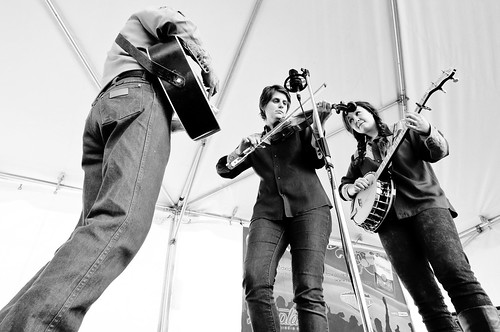
I’m very excited to say that Kulture Klash 7 has been officially announced. Last year’s Kulture Klash Arts Festival was, in my opinion, a major highlight of the Low Country’s arts community. Needless to say, I’m honored and excited to be participating in this event! You can read my recap here, and check out this awesome video of last fall’s event:

Kulture Klash Episode 6 from Jewell&Ginnie on Vimeo.

What: Kulture Klash Arts Festival #7
When: Saturday, April 9 at 7:00pm – April 10 at 2:00am
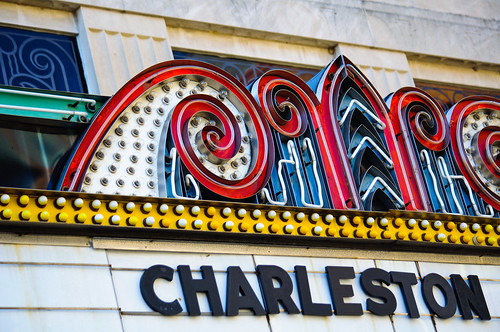
Where: Noisette @ the Navy Yard, 10 Storehouse Row, North Charleston, SC
Why: Great art from all different walks, including photography from BadJon, Robert Donovan, & more!

Kulture Klash Graffiti Artist


Water & Western North Carolina

North Carolina

A few weeks ago my family went to the Blue Ridge Mountains in western North Carolina for a weekend getaway in a tiny little cabin on the side of a river in a town called Bat Cave. We did some hiking, checked out waterfalls such as the one above at Pearson’s Falls, spent a day at the Biltmore Estate, visited Chimney Rock (pictured below), and of course shopped at all the touristy shops.

North Carolina

I also took some time to try and teach the kids a little bit about photography. The kids love when I let them shoot with my D40! This shot below is of my son on the side of Hooker Falls sporting the greatest little DSLR ever made.

North Carolina

I used this shot below as a lesson on using long exposures to shoot running water. I showed them that if you set the aperture to a really small setting (which means larger f number), then you are able to set a really long exposure time which gives the running water a glassy and smooth effect. This was shot at f/22 for 1/2 a second. I used the guard rail on the edge of the trail to brace the camera since we were sans tripod on the hike.

North Carolina

I like hiking in the mountains, everything just seems so photogenic. Maybe it’s the change of scenery from living near the coast, or maybe it’s the way things are designed to compliment the environment such as these steps on a mountain trail.

North Carolina

There are times when we’re driving through the hills and I scream “pull over now!” so I can capture scenes such as this:

North Carolina

I’m sure when people come to the beach, the plantations, the city, or swamps of the low country, they get the same kind of excitement. Physically taking yourself out of your comfort zone can be a very inspiring act. It’s quite true that the spark of inspiration is easily lit by doing something different. The struggle is finding the new inspiration in your own backyard!

North Carolina
This is my family on the last day of our adventure – what a rag-tag bunch we were after a few days in the back woods! Gotta love that ML L3 Remote in my right hand – I was over 50 feet away from the camera outdoors, and it worked like a champ.


Evans Rehearsal Dinner

Evans Party

I had the pleasure of shooting a wonderful couple’s wedding rehearsal dinner at Waters Edge at Shem Creek in Mount Pleasant, SC this weekend.

Evans Party

Beau and Kathryn Evans are two beautiful people whose awesome mother, Donna Evans hired me to shoot this event for their family.

Evans Party

I wanted to share with you some of my favorite pics from the evening. We had a great location at a great time of day with perfect weather – You couldn’t ask for a better combination!

Evans Party Evans Party

Evans Party

Evans Party

There was music, shagging, and shucking, oh my!

Evans Party

The more events I photograph, the more I realize how important it is to know your camera inside and out. I can’t tell you how often I double-check my camera and almost every time I do I find that a crucial setting has been changed, a button mashed, or dial spun that would have otherwise ruined or missed a moment. I don’t know how many times I would find myself chimping the LCD screen in the past – after a number of phantom setting changes, I do get real paranoid that I’m blowing the shots! The more I do this though, the less I need to check my screen because I accept that while I’m communicating with subjects, and squeezing through crowded bars, my camera is busy taking on a life of its own, so I check my settings before I press the shutter.

It’s also handy to keep a mental baseline of settings for each environment you shoot in. That way you can quickly reset the camera to that baseline and work up from there. I still find shooting people at sunset is the hardest time because the light changes so drastically with every passing second. Event photography is very fast-paced, so any method you employ that will gain you precious seconds looking through the viewfinder is the difference between getting a great moment or just missing it.

Evans Party


Biltmore Estate in the Winter

Biltmore Estate

A couple of weeks ago we spent the extended weekend in western North Carolina. One of the days was spent at Asheville’s Biltmore Estate. How do you shoot a touristy estate that forbids photography inside and is littered with pixel peepers on the outside?

Biltmore Estate

Well, one answer is to get in close and get the detail. Try and isolate a subject and create a graphical image of it in its surroundings.

Biltmore Estate

The property is littered with great statues – most of them with a major subject and a minor subject interacting. The challenge is positioning yourself in a way that incorporates the background in a non-distracting way. The image directly below uses the lines of the staircase to draw you into the figure of the cherub, while the bushes behind provide contrast.

Biltmore Estate

Getting in physically closer, but zooming out shows how a similar composition can look completely different! I had to depend on color to get the right contrast to isolate the statue here.

Biltmore Estate

And this photo of a statue works best by getting low and letting the blown-out cloudy sky act as a white background.

Biltmore Estate

During the winter months, some people wouldn’t see much value in a landscape devoid of lush vegetation. I tend to enjoy the look of the barren trees and yellowed grass mixed within the evergreens.

Biltmore Estate

Finally, capturing a moment is one of the most exciting things to do when shooting in a place like this. It’s like a little gift when you have an amazing background and a subject to place within it. The couple was enjoying the view when I happened upon them (from the stairs in the pictures above).

Biltmore Estate

That’s how I attack a situation like this – by getting closer, moving around, and seeking out moments. What’s your method?


Brewvival 2011 Photo Essay

Charleston Brewvival 2011

When I first arrived at the old Navy Base in North Charleston on Saturday for the second annual Brewvival, I felt a similar feeling as when I walked through the doors at CupcakeCamp. Elation. As a fan of real beer, not that swill most people pass off as beer at sports bars and chain restaurants, I was in heaven. Everywhere I looked, I was surrounded by real honest-to-goodness beer!

Charleston Brewvival 2011

After I pinched myself a few times, I remembered that I had a job to do. I had to captured the day in photos. Where to start? Well, there was the huge growing line of attendees awaiting for the 12 o’clock hour to strike so they could start the party. I walked to the front of the line and met this group of folks who had arrived an hour early to be the first to enjoy the heady goodness that was to be dispensed throughout the day.

Charleston Brewvival 2011

I realized I had a few minutes to check out the grounds before they were filled with festival goers. I walked around taking in the sights of each booth.

Charleston Brewvival 2011

Charleston Brewvival 2011

Charleston Brewvival 2011

Soon, the “gates” opened and some of the happiest people on earth were welcomed with a program and a beer glass as they entered the festival.

Charleston Brewvival 2011

And so it began. People lined up at the booths and started sniffing, tasting, and in some cases, even licking their beer!

Charleston Brewvival 2011

Charleston Brewvival 2011

Charleston Brewvival 2011

Charleston Brewvival 2011

The organization of the festival was brilliant. Lines moved quickly, each brewer was organized in alphabetical order, and everyone had a list of what each brewer had to offer so there was little doubt as to where you could get the beer you wanted to try.

Charleston Brewvival 2011

Soon after the gates opened, the rock began with the sounds of Gaslight Street (featured in the photo at the top of this post). Now I was getting into my groove – I love beer, photography, and rock n’ roll (not in any particular order).

Charleston Brewvival 2011

I started to get into it and got in close on the instruments…

Charleston Brewvival 2011

Charleston Brewvival 2011

I decided to head back into the crowd for more shots of beard beer drinking!

Charleston Brewvival 2011

Charleston Brewvival 2011

It was lunch time, which I spent inside of Coast Brewery’s facility and enjoyed some amazing home-made food that was prepared for the vendors and brewers. While I was in there, I decided to take some shots of the inner workings of the brewery.

Charleston Brewvival 2011

Charleston Brewvival 2011

Charleston Brewvival 2011

Charleston Brewvival 2011

After I was done inside Coast, I headed back outside to the festival with an idea for a shot. I wanted to get the darkest beer I could find and fill one of the Brewvival beer glasses and get a shot of the band behind it. I set the aperture as small as I could to get the most depth of field (and showcase the plethora of dirt on my camera’s sensor). I believe it captures the essence of the day. The shot up top is my favorite, and here is an alternate of the same shot in the key of G:

Charleston Brewvival 2011

The beer I used was Palmetto Brewing’s Espresso Porter, which was amazing to say the least (I had to drink it because I wasn’t about to waste it). I also checked out some of the food vendors. We had D’Allesandro’s Pizza, Ted’s Butcher Block, Roti Rolls, as well as others on hand to keep the drinkers paced and satisfied.

Charleston Brewvival 2011

Charleston Brewvival 2011

Charleston Brewvival 2011

Next up on the stage was the Garage Cuban Band, who played a trippy Latin-flavored soulful sound that was perfect for the occasion.

Charleston Brewvival 2011

Charleston Brewvival 2011

Charleston Brewvival 2011

Charleston Brewvival 2011

Charleston Brewvival 2011

Charleston Brewvival 2011

Phew – this is a long post, and I’m still going! After checking out a riveting game of bean-bag toss, I met up with some Twitter Friends.

Charleston Brewvival 2011

It’s @JasonCZ & @SkimTheOcean

Charleston Brewvival 2011

Charleston Brewvival 2011

I tried to explain to Jason the art of being a creep with a camera at an event such as this. Sometimes the shot you want is of people off their guard, such as these:

Charleston Brewvival 2011

Charleston Brewvival 2011

Charleston Brewvival 2011

When people know they are being photographed, the tend to step out of their natural character and when you combine that with beer, it may look something like this:

Charleston Brewvival 2011

As the day went on, people came out of their shells and it was much easier to approach them for candid shots. Here are some of my favorites:

Charleston Brewvival 2011

Charleston Brewvival 2011

Charleston Brewvival 2011

Charleston Brewvival 2011

Charleston Brewvival 2011

Let’s not forget the unsung heroes of the day. I’m talking about the designated drivers who, donning their straight-edge X’s on their hands, sacrificed partaking in the alcohol bevicide for the good of their fellow man.

Charleston Brewvival 2011

Charleston Brewvival 2011

Guess what time it is? It’s banjo picking, fiddle sticking, foot stomping time! Fire up the Dukes of Hazard car chase scene soundtrack and check out these shots of the SC Broadcasters!

Charleston Brewvival 2011

Charleston Brewvival 2011

Charleston Brewvival 2011

Charleston Brewvival 2011

Right about now, the people started to get the itch and some dancing ensued.

Charleston Brewvival 2011

Charleston Brewvival 2011

Charleston Brewvival 2011

The day was winding down, and somebody with temporary tattoos on his head was getting his skull licked, so I took that as my cue to wrap up my photo shoot.

Charleston Brewvival 2011

I had a blast, and I can’t wait until next year’s event. Until then, I raise my glass to the Brewvival crew and Coast Brewing for putting on a spectacular festival. Cheers! I leave you with this picture of this guy looking awesome.

Charleston Brewvival 2011

Check out the whole set of 247 photos on my Flickr!


Charleston Brewvival 2011

What: Charleston Brewvival
Where: 1250 2nd St North, North Charleston, SC 29405
When: Saturday, February 26, 2011 12-6PM
Why: Beer!

I’ve been extremely busy over the past couple of weeks, but I wanted to quickly update you with my latest project – I’ve been tasked with shooting the Charleston Brewvival 2011 event. I’m very excited to bring my love for photography to the world’s love of cold liquid gold.

If you are coming to the Charleston area this weekend, make sure to get yourself some tickets, and a designated driver, and get ready to taste some of the low country’s best brews. I hope to see you there!


Second Sunday On King St.

February 2nd Sunday

Late last year, the city of Charleston decided after the success of the “Do the Charleston” festival to regularly close King Street to traffic on the second Sunday of each month so that the pedestrians could take over (you can read more about the origins here). Today I was finally able to bring the family for an afternoon downtown and also to do some street photography.

The diptych above was a group of people watchers in Ye Ole Fashioned Ice Cream and Sandwich Cafe. They were having a blast commenting on what everyone was wearing, and I told them I was turning the camera on them next!

February 2nd Sunday
1/100th of a sec | f/4.5 | 62mm | ISO 200

It didn’t take long for me to start looking for some decent light and interesting people to shoot. It was mid-day, so the light was harsh and three quarters of the street was in shadow. I found that the slivers of light between buildings was a great side-light opportunity and looked for opportunities to use it.

February 2nd Sunday

I also looked for people who were doing just ordinary things, like eating some lunch…

February 2nd Sunday

…or drinking some coffee…

February 2nd Sunday

…or talking on the phone…

February 2nd Sunday

…or walking their dog…

February 2nd Sunday

…or flipping me the bird while double-fisting some beverages…

February 2nd Sunday

…or looking as happy as can be…

February 2nd Sunday

…or just as pretty as can be.

February 2nd Sunday

I was hoping to get a lot of shots of people dressed up as characters from the “Where’s Waldo” series as there was an attempt to break the Guinness World Record for the most people dressed like Waldo in one place (more info on that here). Unfortunately, they fell quite short of the record. I did grab a shot of these two festive Wandas:

February 2nd Sunday

As with any outdoor Low Country event, the dogs were out en masse. I think the next time I attend one of these Second Sundays I’m gonna focus on capturing the dogs – there were so many awesome dogs out.

February 2nd Sunday

Getting down to the dog’s perspective makes for an interesting composition:

February 2nd Sunday

These dogs looked really excited to be out and about:

February 2nd Sunday

I also made some black & white shots – I knew when I shot this one that it would be perfect as a monotone image – the contrast and negative space are just shouting to be devoid of any distracting colors.

February 2nd Sunday

All in all, I had a blast and cant wait to do it again. I have a hefty set of photos on my Flickr stream if you want to see some of the other shots I made today. Street photography is a fun and exciting way to exercise your creative mind, and you end up meeting interesting people in the process.

February 2nd Sunday


Walking The Shem Creek Bridge

Shem Creek
1/30th of a sec | f/2.8 | 17mm | ISO 200

Last night I was driving through Mount Pleasant as I find myself doing on a pretty frequent basis, and the time was right, the location was right, and I was prepared. I approached Shem Creek just as the sun was bidding adieu to the coast of South Carolina and pulled into a parking lot. I slung my camera on my shoulder set to manual mode with a fixed ISO of 200 and started walking up the bridge. As I approached the middle, I quickly brought the camera up to my eye and checked the internal light meter. As I tend to do, I made it set to be ever so slightly under-exposed and started firing away. this is what I caught:

Shem Creek Sunset
1/80th of a sec | f/5.6 | 55mm | ISO 200

I dug the foreground of the boardwalk, so now I wanted to isolate the mid-ground area a bit more. I took a few steps forward and zoomed in a little to get this:

Shem Creek Sunset
1/100th of a sec | f/8.0 | 72mm | ISO 200

All the while I keep adjusting my exposure values – specifically the aperture and shutter speed. In the moments just after a sunset, every second that passes dramatically changes the light. Once again I took a few more steps forward and zoomed in a bit tighter to get this:

Shem Creek Sunset
1/60th of a sec | f/7.1 | 100mm | ISO 200

I checked the back of my camera and knew I had the shot I wanted. Now It was time to explore. I kept walking and came up to a glorious blue building that rents kayaks and has a seafood market in the back. How blue is it?

Mt. Pleasant Seafood
1/20th of a sec | f/4.5 | 55mm | ISO 200

That’s pretty damn blue. I needed to capture the entrance to the building. When you get that kind of red against that kind of blue, you can’t go wrong.

Mt. Pleasant Seafood
1/20th of a sec | f/4.8 | 125mm | ISO 200

I really dug the convergence of lines from the wood siding and the angles of the metal roof. The light was really starting to fade, so I switched out to a faster lens and shot this:

Mt. Pleasant Seafood
1/13th of a sec | f/2.8 | 50mm | ISO 200

I decided to look down off the side of the bridge and lo and behold, there were a couple of pelicans perched a few feet below me. I braced the camera on the railing of the bridge and composed some shots of the big birds.

Shem Creek Pelicans
1/30th of a sec | f/2.8 | 50mm | ISO 200

When shooting in this low amount of light at pretty slow shutter speeds it’s quite difficult to capture these birds sharply. They never cease twitching their beaks and adjusting themselves when you are as close as I was. It’s best to set your shutter to burst mode and let it rip once you have your composition. You can shoot a dozen shots and possibly only get one that’s decently sharp if your lucky! You could always bring out a flash, but you’ll get one chance before you send that bird soaring to the other side of the creek.

Shem Creek Pelicans
1/5th of a sec | f/2.8 | 50mm | ISO 200

I was quickly losing light, I was shooting at speeds that require bracing the camera on something sturdy, and I was getting pretty damn cold (at least for just a sweatshirt – guess I wasn’t as prepared as I thought). I only had a couple of more shots left in me, so I started to get a busy composition of the waterside of the blue seafood/kayak building when one of the birds flew right into the composition and landed in the perfect spot to become the focal point of this shot:

Shem Creek Pelicans
1/5th of a sec | f/2.8 | 50mm | ISO 200

Talk about a lucky break! I started to walk back to my car and fired off the shot at the top of this post. The color in the sky was no longer as magnificent in this location (although as I drove home the colors in the sky were unusually deep – the horizon was almost brown for a few moments). I decided to create a split-tone image which basically worked out as such: I first converted the shot into a black and white image, and then I gave the highlights an orange tone and the shadows a blue tone. The result is what you see above. It can add a little more mood to a black and white image as well as make something starkly different. It definitely stands out amongst the rest of the images I shot last night.


Pseudo HDR

New Car, Old Charleston
1/1000th of a sec | f/6.3 | 17mm | ISO 1600

Some photos just scream to be in High Dynamic Range, but sometimes you don’t have your tripod with you, or you took the shot and later realized you want it to be in HDR. That’s OK, there are quite a few ways to get the effect of an HDR image without using multiple exposures. I used to take an image and then save 3 different versions of the photo as tiffs – one correct exposure, one I pushed the brightness up to overexpose it and another that I pushed down to underexpose. I would then recombine those in Photomatix to create an HDR image – it works pretty well, but it’s a lot of work.

Here is an example of an image I made using that method:

Kegan Shuts His Eyes

I’ve since found a more efficient way to get the effect and it takes a fraction of the time. I use Nik Color Efex Pro’s Tonal Contrast filter. By running the photo through this plugin first, I’m able to push the dynamic range of the photo by manipulating contrast highlights, midtones, and shadows. The HDR look is really pronounced by pushing the midtone contrast way ahead of the others. Here’s a screenshot of the Tonal Contrast filter settings for the photo up at the top of this post (click it to enlarge):

Nik Efex Pro 3 Tonal Contrast

I also pushed the saturation, because I like my HDR photos to be over-saturated. In doing so, it made the color of the car a purplish-blue tint. It is actually a dark gray, so when I brought the photo back into Adobe Lightroom, I used the saturation selector tool in the HSL panel to select the car and drop down the saturation. While I was there I also pushed the other colors up even more. Here’s what the settings looked like:

Adobe Lightroom HSL saturation panel

I also made some pretty strong adjustments in the basic panel of Lightroom. I pushed the saturation once more and also heavily applied the clarity slider, which can also be used to enhance the dynamic range of a photo. Here’s what those settings look like:

Adobe Lightroom Basic Panel

So, there you go – the end result looks very much like a traditional HDR photo. One last pointer is to make sure you have your aperture set to a small size (larger f number) so that more of the picture is in focus. HDR usually looks like crap on a photo that is exploiting a very shallow depth of field – the bokeh gets real funky and the effect just looks weird.

Here’s an alternate angle of the shot in the example above:

New Car, Old Charleston
1/250th of a sec | f/6.3 | 17mm | ISO 720


Winter Desaturation

Winter Kids
1/250th of a sec | f/5.6 | 300mm | ISO 1600

A popular effect in many casual portraits is the washed-out or desaturated look. Taking cues from high fashion photography, people tend to look more attractive as the facial features get even and blown out while retaining a high contrast with their eyes, clothes, and background elements. The difference is in the deliberate heavy-handed approach – you’re not trying to play a photo trick here, you’re making an obvious change to your photo’s look.

Winter Kids
1/200th of a sec | f/5.0 | 180mm | ISO 1100

This effect works best for me when making outdoor photos, and depending on the feel I’m going for, the color of the sunlight and the time of year determines the best course of action. For a bright sunny day, where the grass is green and the flowers are blooming, it’s best to use directional sunlight in the morning or late afternoon and put the subject between you and the sun. The back-light will give a warm yellow halo effect around your subject (make sure to use spot metering to expose for your subject’s face, because matrix metering will be way off when shooting into the sun).

For winter photos, shooting on an overcast day will naturally give you a cold blue color temperature to match the dead grass and barren trees. In the shots here, I was deliberately going for photos that feel like winter in the south. Sure, the temperature was really warm for January when I took these, but the environment and color still help define these as winter/fall shots. The key here is reign in the yellow grass so that it’s no longer a warm yellow. I started the two shots above using Nik Color Efex Pro’s Bleach Bypass. I made more use of the effect’s local contrast slider more than anything else in the plugin. After I did that, I brought the photo back into Adobe Lightroom and performed some tweaks to maximize the effect as detailed below.

Adobe Lightroom Basic Panel

What if you don’t have Nik Color Efex Pro? You can still get similar results using just the basic tools available in Lightroom or Aperture. This shot of my daughter was created without the use of the Bleach Bypass filter. It is less dramatic, but for her I didn’t particularly like the hardness of the filter.

Winter Kids
1/200th of a sec | f/5.0 | 170mm | ISO 1600

You can see that I needed to be a bit more heavy-handed with my Lightroom basic adjustments without the use of Bleach Bypass:

Adobe Lightroom Basic Panel

In the shot below, I used a different approach which resulted in a much warmer effect because I wanted to have contrast between the pavement and the grass. Although it’s more saturated than the other photos, it still has that grainy high contrast and desaturated feel to it. Another factor that is more of a way of exploiting your lenses shortcomings is to shoot at a high ISO. Depending on the lighting, this can give your shots a graininess that looks quite gritty. I’m pretty sure if I was shooting these with faster glass, I would have chosen to add the grain in later to taste, but since I wasn’t, I chose to take advantage of the high ISO look (and by take advantage, I mean I didn’t have much of a choice).

Winter Kids
1/200th of a sec | f/4.8 | 140mm | ISO 800


Privacy Settings
We use cookies to enhance your experience while using our website. If you are using our Services via a browser you can restrict, block or remove cookies through your web browser settings. We also use content and scripts from third parties that may use tracking technologies. You can selectively provide your consent below to allow such third party embeds. For complete information about the cookies we use, data we collect and how we process them, please check our Privacy Policy
Youtube
Consent to display content from - Youtube
Vimeo
Consent to display content from - Vimeo
Google Maps
Consent to display content from - Google