Second Sunday On King St.
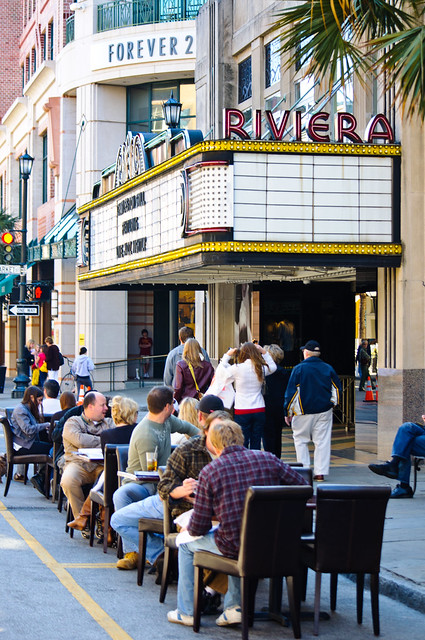
Late last year, the city of Charleston decided after the success of the “Do the Charleston” festival to regularly close King Street to traffic on the second Sunday of each month so that the pedestrians could take over (you can read more about the origins here). Today I was finally able to bring the family for an afternoon downtown and also to do some street photography.
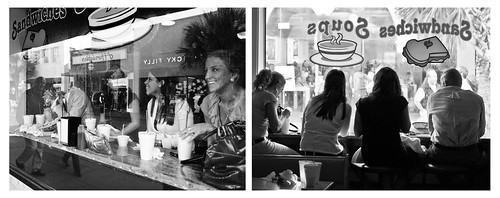
The diptych above was a group of people watchers in Ye Ole Fashioned Ice Cream and Sandwich Cafe. They were having a blast commenting on what everyone was wearing, and I told them I was turning the camera on them next!
1/100th of a sec | f/4.5 | 62mm | ISO 200
It didn’t take long for me to start looking for some decent light and interesting people to shoot. It was mid-day, so the light was harsh and three quarters of the street was in shadow. I found that the slivers of light between buildings was a great side-light opportunity and looked for opportunities to use it.
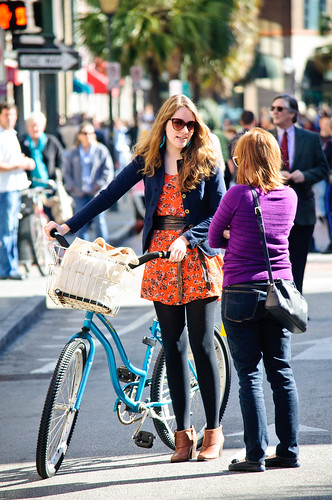
I also looked for people who were doing just ordinary things, like eating some lunch…
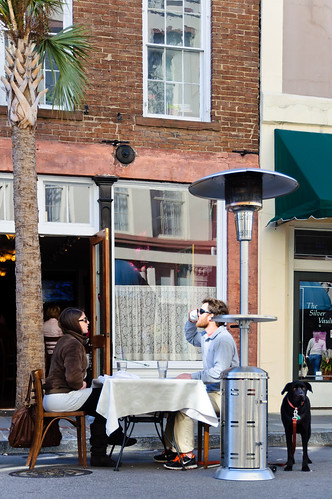
…or drinking some coffee…
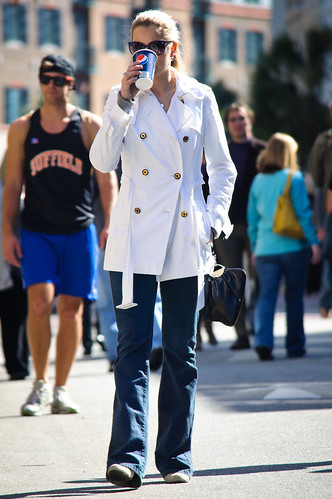
…or talking on the phone…
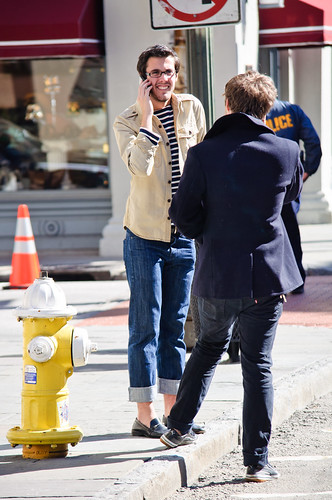
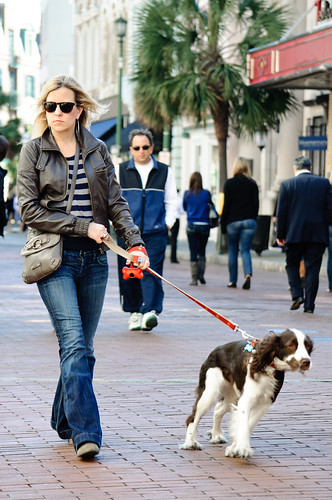
…or walking their dog…
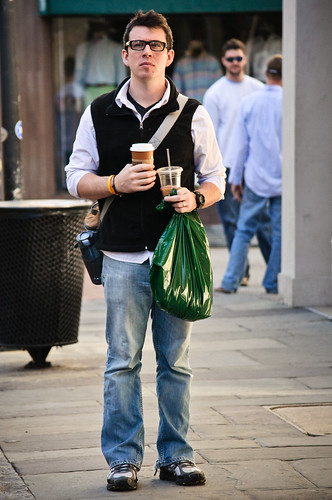
…or flipping me the bird while double-fisting some beverages…
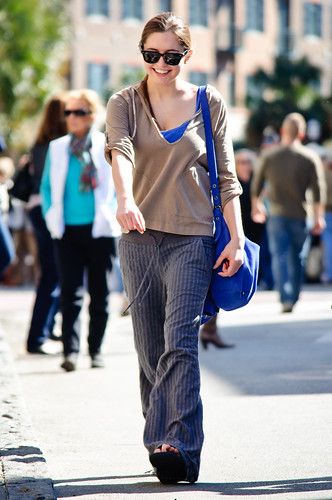
…or looking as happy as can be…
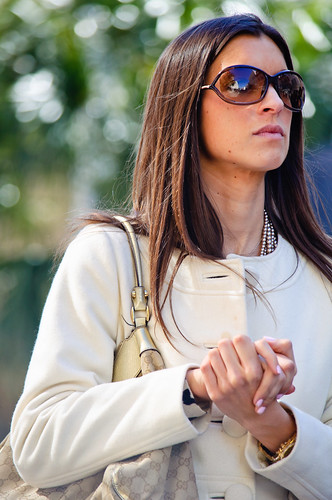
…or just as pretty as can be.
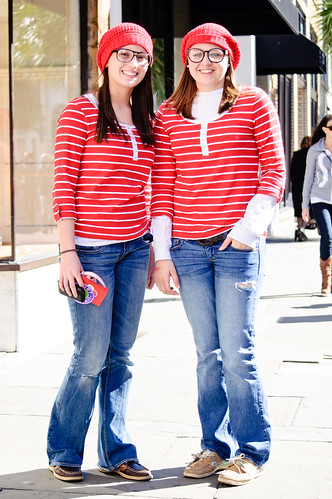
I was hoping to get a lot of shots of people dressed up as characters from the “Where’s Waldo” series as there was an attempt to break the Guinness World Record for the most people dressed like Waldo in one place (more info on that here). Unfortunately, they fell quite short of the record. I did grab a shot of these two festive Wandas:
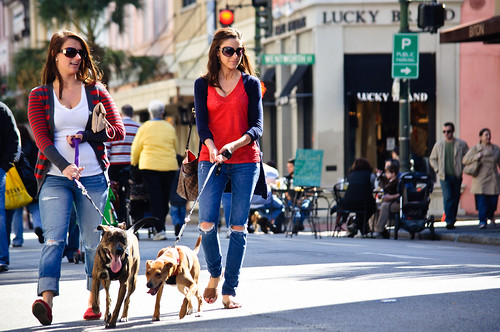
As with any outdoor Low Country event, the dogs were out en masse. I think the next time I attend one of these Second Sundays I’m gonna focus on capturing the dogs – there were so many awesome dogs out.
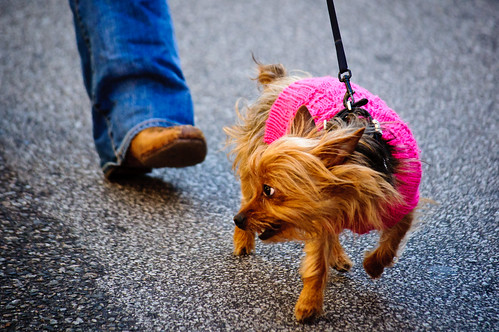
Getting down to the dog’s perspective makes for an interesting composition:
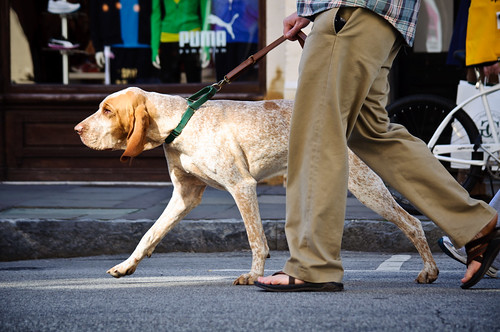
These dogs looked really excited to be out and about:
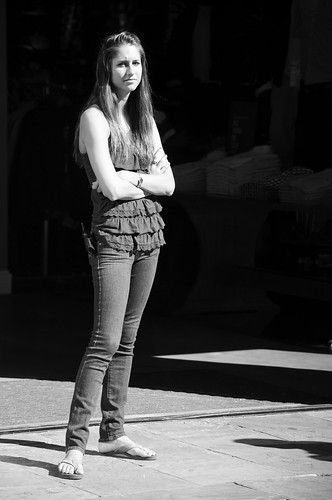
I also made some black & white shots – I knew when I shot this one that it would be perfect as a monotone image – the contrast and negative space are just shouting to be devoid of any distracting colors.
All in all, I had a blast and cant wait to do it again. I have a hefty set of photos on my Flickr stream if you want to see some of the other shots I made today. Street photography is a fun and exciting way to exercise your creative mind, and you end up meeting interesting people in the process.
One Year Ago Today
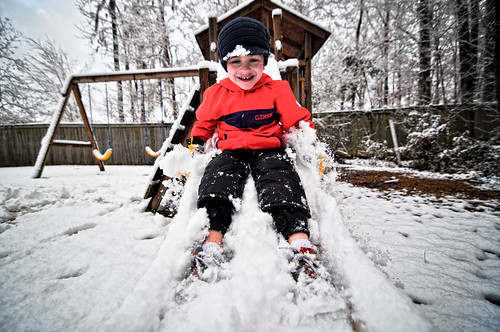
I was searching through my Flickr stream for some valentines day photos when I realized that one year ago today, Charleston, SC was buried in snow! I know my buddies up north aren’t that impressed, but I think it’s surreal to see palmetto trees covered in snow:

The snow started vanishing by that afternoon, but the kids made the most of it while they could. They built snow forts:
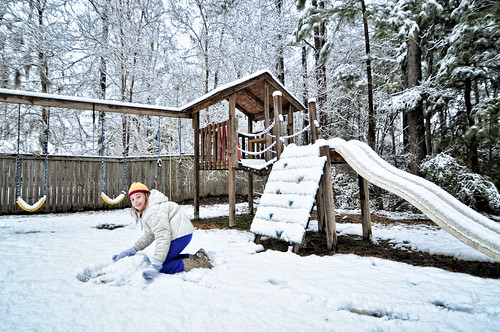
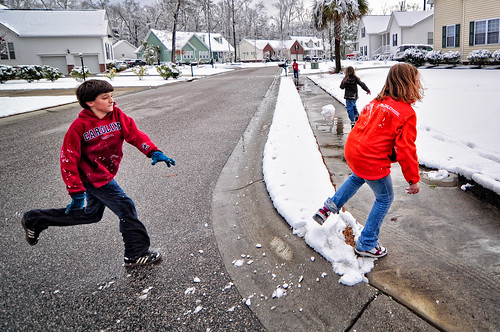
Had snowball fights with the neighborhood kids:
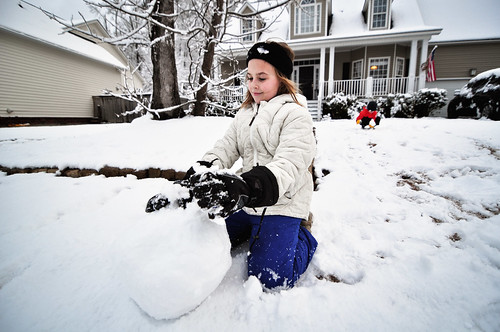
Tried to make a snowman:
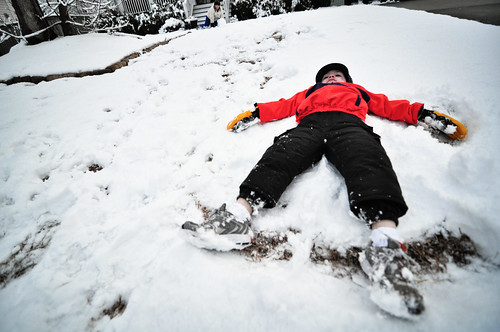
And of course, made snow angels:
With all of the snow that the rest of the US has gotten this season, we’ve been able to grin as we put on nothing more than a sweatshirt to stay warm here in the low country. These photos remind me that it’s very possible to be put back in our places with a good old fashioned snow storm. My hammock just doesn’t look so relaxing in all of that snow!
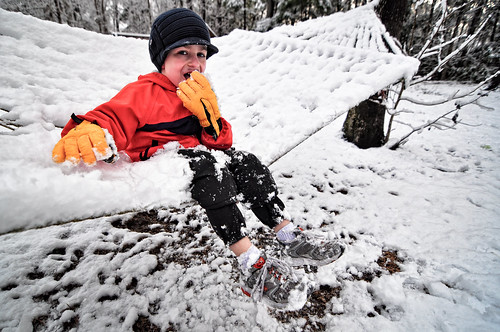
Looking back on the technical side, I should have manually set the white balance on these shots – it’s all over the place when using AWB in the snow.
Walking The Shem Creek Bridge
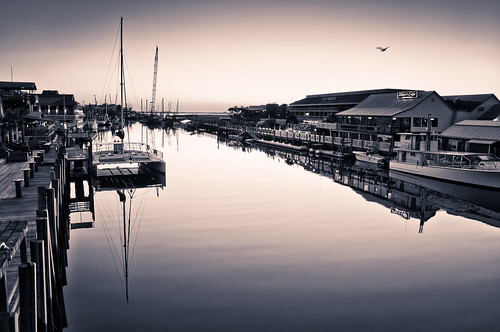
1/30th of a sec | f/2.8 | 17mm | ISO 200
Last night I was driving through Mount Pleasant as I find myself doing on a pretty frequent basis, and the time was right, the location was right, and I was prepared. I approached Shem Creek just as the sun was bidding adieu to the coast of South Carolina and pulled into a parking lot. I slung my camera on my shoulder set to manual mode with a fixed ISO of 200 and started walking up the bridge. As I approached the middle, I quickly brought the camera up to my eye and checked the internal light meter. As I tend to do, I made it set to be ever so slightly under-exposed and started firing away. this is what I caught:
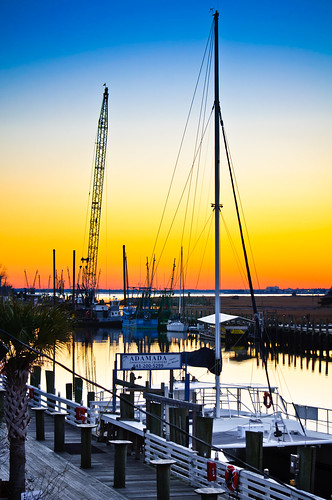
1/80th of a sec | f/5.6 | 55mm | ISO 200
I dug the foreground of the boardwalk, so now I wanted to isolate the mid-ground area a bit more. I took a few steps forward and zoomed in a little to get this:
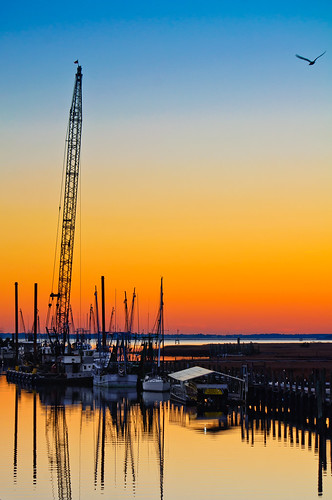
1/100th of a sec | f/8.0 | 72mm | ISO 200
All the while I keep adjusting my exposure values – specifically the aperture and shutter speed. In the moments just after a sunset, every second that passes dramatically changes the light. Once again I took a few more steps forward and zoomed in a bit tighter to get this:
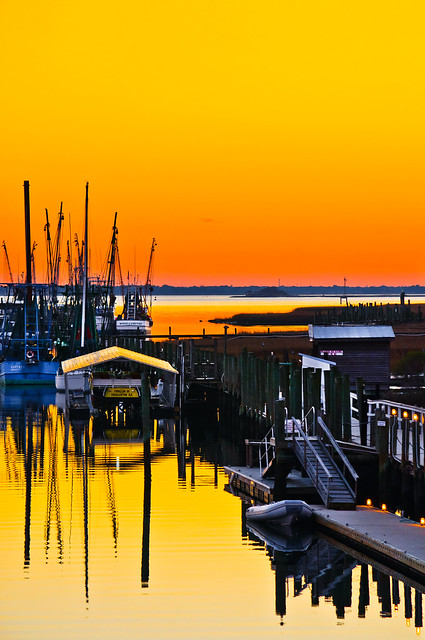
1/60th of a sec | f/7.1 | 100mm | ISO 200
I checked the back of my camera and knew I had the shot I wanted. Now It was time to explore. I kept walking and came up to a glorious blue building that rents kayaks and has a seafood market in the back. How blue is it?
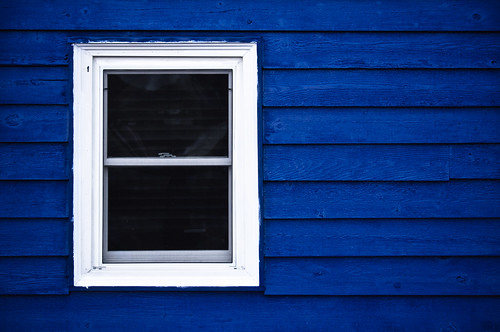
1/20th of a sec | f/4.5 | 55mm | ISO 200
That’s pretty damn blue. I needed to capture the entrance to the building. When you get that kind of red against that kind of blue, you can’t go wrong.
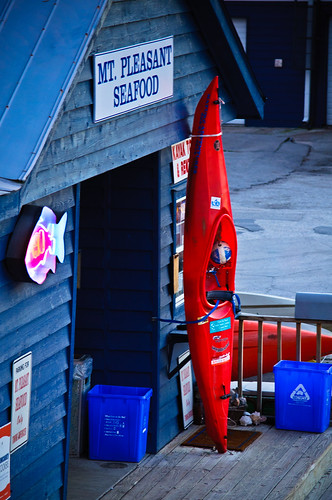
1/20th of a sec | f/4.8 | 125mm | ISO 200
I really dug the convergence of lines from the wood siding and the angles of the metal roof. The light was really starting to fade, so I switched out to a faster lens and shot this:

1/13th of a sec | f/2.8 | 50mm | ISO 200
I decided to look down off the side of the bridge and lo and behold, there were a couple of pelicans perched a few feet below me. I braced the camera on the railing of the bridge and composed some shots of the big birds.
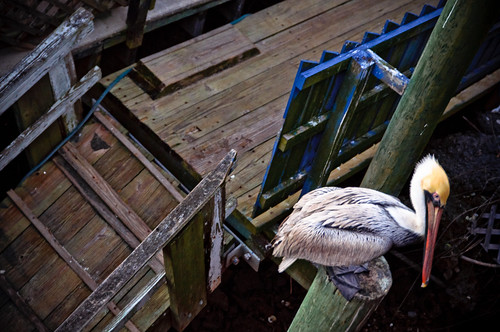
1/30th of a sec | f/2.8 | 50mm | ISO 200
When shooting in this low amount of light at pretty slow shutter speeds it’s quite difficult to capture these birds sharply. They never cease twitching their beaks and adjusting themselves when you are as close as I was. It’s best to set your shutter to burst mode and let it rip once you have your composition. You can shoot a dozen shots and possibly only get one that’s decently sharp if your lucky! You could always bring out a flash, but you’ll get one chance before you send that bird soaring to the other side of the creek.
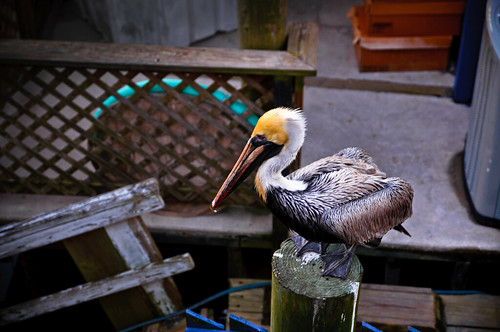
1/5th of a sec | f/2.8 | 50mm | ISO 200
I was quickly losing light, I was shooting at speeds that require bracing the camera on something sturdy, and I was getting pretty damn cold (at least for just a sweatshirt – guess I wasn’t as prepared as I thought). I only had a couple of more shots left in me, so I started to get a busy composition of the waterside of the blue seafood/kayak building when one of the birds flew right into the composition and landed in the perfect spot to become the focal point of this shot:

1/5th of a sec | f/2.8 | 50mm | ISO 200
Talk about a lucky break! I started to walk back to my car and fired off the shot at the top of this post. The color in the sky was no longer as magnificent in this location (although as I drove home the colors in the sky were unusually deep – the horizon was almost brown for a few moments). I decided to create a split-tone image which basically worked out as such: I first converted the shot into a black and white image, and then I gave the highlights an orange tone and the shadows a blue tone. The result is what you see above. It can add a little more mood to a black and white image as well as make something starkly different. It definitely stands out amongst the rest of the images I shot last night.
Spot vs. Matrix Metering

1/125th of a sec | f/2.8 | 50mm | ISO 200
When a lot of people get a DSLR, a setting that they tend to overlook is the type of metering. Most cameras come set to Matrix metering by default and that’s where it stays. There’s a good reason for that – Matrix metering handles most situations really well. So why would you venture into the world of spot metering?
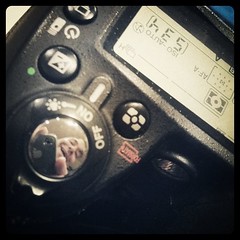
Shot on the iPhone with Instagram – never mind the goof in the shutter’s reflection
When I’m shooting something like people outdoors or indoors with a very strong directional ambient light source (like a window), spot metering is the way to go. In the photo up at the top of this post, birthday girl Caitlyn smiles for a split second for me. In this type of situation, I’ve got the camera in aperture priority mode, and the metering set to spot. Why? Well, I shoot in aperture priority mode because there are kids hopped up on birthday cake – this means largest possible aperture to get the fastest shutter speed because they are bouncing around like heated up Mexican jumping beans. There is also a huge window wall with the sun blaring right through it. For me this means I need to try to put my subject between the light source and my lens, preferably at a slight angle to get some sidelight.

1/250th of a sec | f/2.8 | 50mm | ISO 200
In order to not have the camera meter for the brighter background, I use spot metering and focus on my subject to get a meter reading off of their face. This will blow out the background, but that is perfectly accepted in today’s photography as it helps isolate your subject. The face and eyes are the important part of these photos, so that is all I care about in regards to exposure.

1/125th of a sec | f/2.8 | 50mm | ISO 200
Matrix metering was designed to address this kind of shooting, but like any automatic mode it lacks the intuitive decision process of the human mind. It will try and properly expose your subject, and a lot of the time it will not get too fooled by the brighter background because it will use a database of different shooting situations to guess what you are trying to do. But, it will try not to overexpose any part of the photo, so there is a chance that it will slightly underexpose your main subject. I know with spot metering that I will get the result I’m looking for each and every time. The real trick is to remember to switch it back from spot to matrix when you’re done shooting!
More Than One Way
robo-rainbow from mudlevel on Vimeo.
I saw this video this morning (via engadget.com) and thought it was really interesting. As I read through the comments on Engadget, there was one troll on there who was complaining about the uselessness and inefficiency of the machine. I had to chime in and “feed the troll” as they say because it’s apparent that some people don’t see something like this for what it really is. There’s always more than one way to interpret art, and for something like this, the end result is not the whole point of the piece.
As you watch the video, which was carefully filmed and edited together, you see a man assembling a machine attached to a bicycle. You get close up shots of the metal work, the fitting of the electronics, and the movement of the gears and chains. Each shot isolates a feature and is dramatically demonstrated until we see it all in action – which is shown with a wide shot of it painting a rainbow on a wall. Now, to someone who’s not paying attention, the art was in creating the machine and the filming of the assembly of it. The rainbow itself was just a mere punchline to a well setup joke. If this was about painting a perfectly symmetrical rainbow, then it would be nutty. There are plenty of ways to paint a rainbow without going through the effort that was put into this.
The art is in the creation of it all. The steampunkish contraption itself, the storytelling in the filming, and the final execution all work together. It’s the act of creating something because you can. The message I took from this was that the journey is always more important than the destination. What’s your interpretation?
Musical Composition
Sherwin Sleeves (AKA Sean Hurley) is a strange cat. I don’t know if it’s the weather in New Hampshire or what, but I dig his originality nonetheless. He has gained some popularity as a regular contributor to the Ron & Fez show on XM radio, which is how I found out about him. I think my interest in his craft was gained not just by his rather odd musical interpretations of the happenings of a radio comedy show, but by the videos he’s posted and words he’s written. He is a fine pianist who can write music seemingly effortlessly. He’s a master of his art.
If you have a few minutes, watch the video above. The character of Sherwin Sleeves is a bit over the top, but I think it works. If you apply a lot of his concepts about musical composition to the art of photography, you will find that the creative process is very similar. I have been beating the drum about the correlation between music and photography since I started this blog in September, in fact my first real post here was entitled “Music & The Zone“.
Pseudo HDR
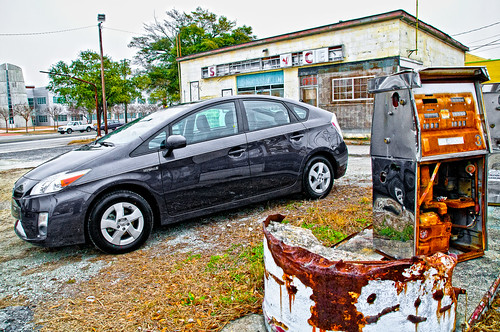
1/1000th of a sec | f/6.3 | 17mm | ISO 1600
Some photos just scream to be in High Dynamic Range, but sometimes you don’t have your tripod with you, or you took the shot and later realized you want it to be in HDR. That’s OK, there are quite a few ways to get the effect of an HDR image without using multiple exposures. I used to take an image and then save 3 different versions of the photo as tiffs – one correct exposure, one I pushed the brightness up to overexpose it and another that I pushed down to underexpose. I would then recombine those in Photomatix to create an HDR image – it works pretty well, but it’s a lot of work.
Here is an example of an image I made using that method:
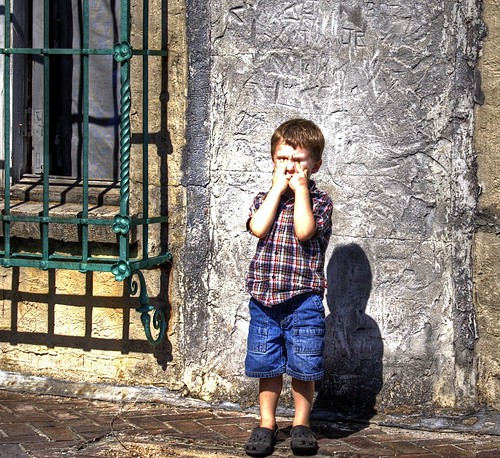
I’ve since found a more efficient way to get the effect and it takes a fraction of the time. I use Nik Color Efex Pro’s Tonal Contrast filter. By running the photo through this plugin first, I’m able to push the dynamic range of the photo by manipulating contrast highlights, midtones, and shadows. The HDR look is really pronounced by pushing the midtone contrast way ahead of the others. Here’s a screenshot of the Tonal Contrast filter settings for the photo up at the top of this post (click it to enlarge):
I also pushed the saturation, because I like my HDR photos to be over-saturated. In doing so, it made the color of the car a purplish-blue tint. It is actually a dark gray, so when I brought the photo back into Adobe Lightroom, I used the saturation selector tool in the HSL panel to select the car and drop down the saturation. While I was there I also pushed the other colors up even more. Here’s what the settings looked like:
I also made some pretty strong adjustments in the basic panel of Lightroom. I pushed the saturation once more and also heavily applied the clarity slider, which can also be used to enhance the dynamic range of a photo. Here’s what those settings look like:
So, there you go – the end result looks very much like a traditional HDR photo. One last pointer is to make sure you have your aperture set to a small size (larger f number) so that more of the picture is in focus. HDR usually looks like crap on a photo that is exploiting a very shallow depth of field – the bokeh gets real funky and the effect just looks weird.
Here’s an alternate angle of the shot in the example above:
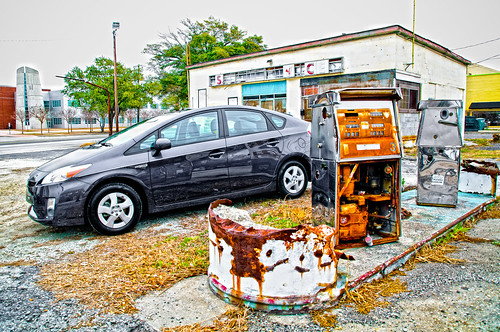
1/250th of a sec | f/6.3 | 17mm | ISO 720
Winter Desaturation

1/250th of a sec | f/5.6 | 300mm | ISO 1600
A popular effect in many casual portraits is the washed-out or desaturated look. Taking cues from high fashion photography, people tend to look more attractive as the facial features get even and blown out while retaining a high contrast with their eyes, clothes, and background elements. The difference is in the deliberate heavy-handed approach – you’re not trying to play a photo trick here, you’re making an obvious change to your photo’s look.
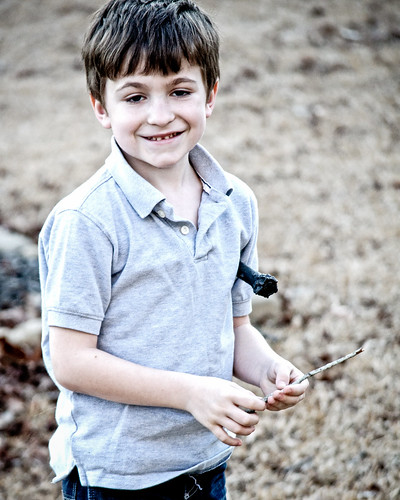
1/200th of a sec | f/5.0 | 180mm | ISO 1100
This effect works best for me when making outdoor photos, and depending on the feel I’m going for, the color of the sunlight and the time of year determines the best course of action. For a bright sunny day, where the grass is green and the flowers are blooming, it’s best to use directional sunlight in the morning or late afternoon and put the subject between you and the sun. The back-light will give a warm yellow halo effect around your subject (make sure to use spot metering to expose for your subject’s face, because matrix metering will be way off when shooting into the sun).
For winter photos, shooting on an overcast day will naturally give you a cold blue color temperature to match the dead grass and barren trees. In the shots here, I was deliberately going for photos that feel like winter in the south. Sure, the temperature was really warm for January when I took these, but the environment and color still help define these as winter/fall shots. The key here is reign in the yellow grass so that it’s no longer a warm yellow. I started the two shots above using Nik Color Efex Pro’s Bleach Bypass. I made more use of the effect’s local contrast slider more than anything else in the plugin. After I did that, I brought the photo back into Adobe Lightroom and performed some tweaks to maximize the effect as detailed below.
What if you don’t have Nik Color Efex Pro? You can still get similar results using just the basic tools available in Lightroom or Aperture. This shot of my daughter was created without the use of the Bleach Bypass filter. It is less dramatic, but for her I didn’t particularly like the hardness of the filter.
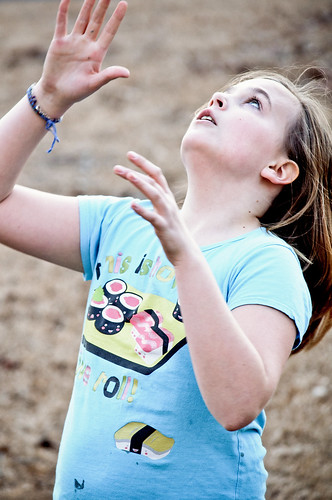
1/200th of a sec | f/5.0 | 170mm | ISO 1600
You can see that I needed to be a bit more heavy-handed with my Lightroom basic adjustments without the use of Bleach Bypass:
In the shot below, I used a different approach which resulted in a much warmer effect because I wanted to have contrast between the pavement and the grass. Although it’s more saturated than the other photos, it still has that grainy high contrast and desaturated feel to it. Another factor that is more of a way of exploiting your lenses shortcomings is to shoot at a high ISO. Depending on the lighting, this can give your shots a graininess that looks quite gritty. I’m pretty sure if I was shooting these with faster glass, I would have chosen to add the grain in later to taste, but since I wasn’t, I chose to take advantage of the high ISO look (and by take advantage, I mean I didn’t have much of a choice).
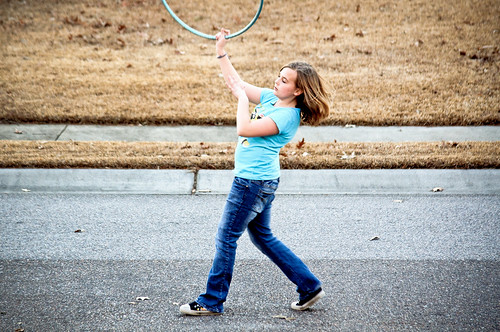
1/200th of a sec | f/4.8 | 140mm | ISO 800
